The following is a business case example of setting up different product versions in the shopping cart.
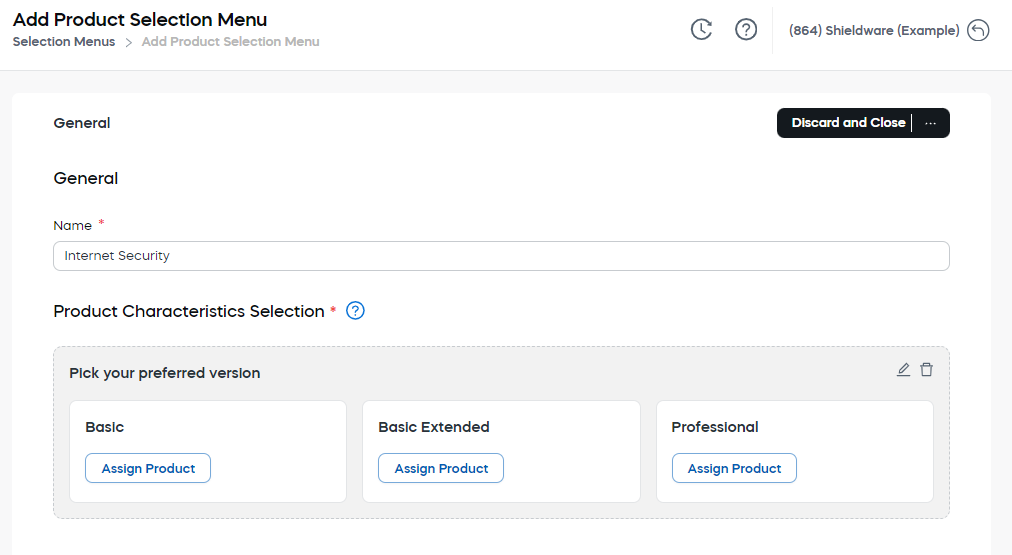
Shieldware, Inc. sells anti-virus software for personal and professional use. They sell their product Internet Security in three different versions:
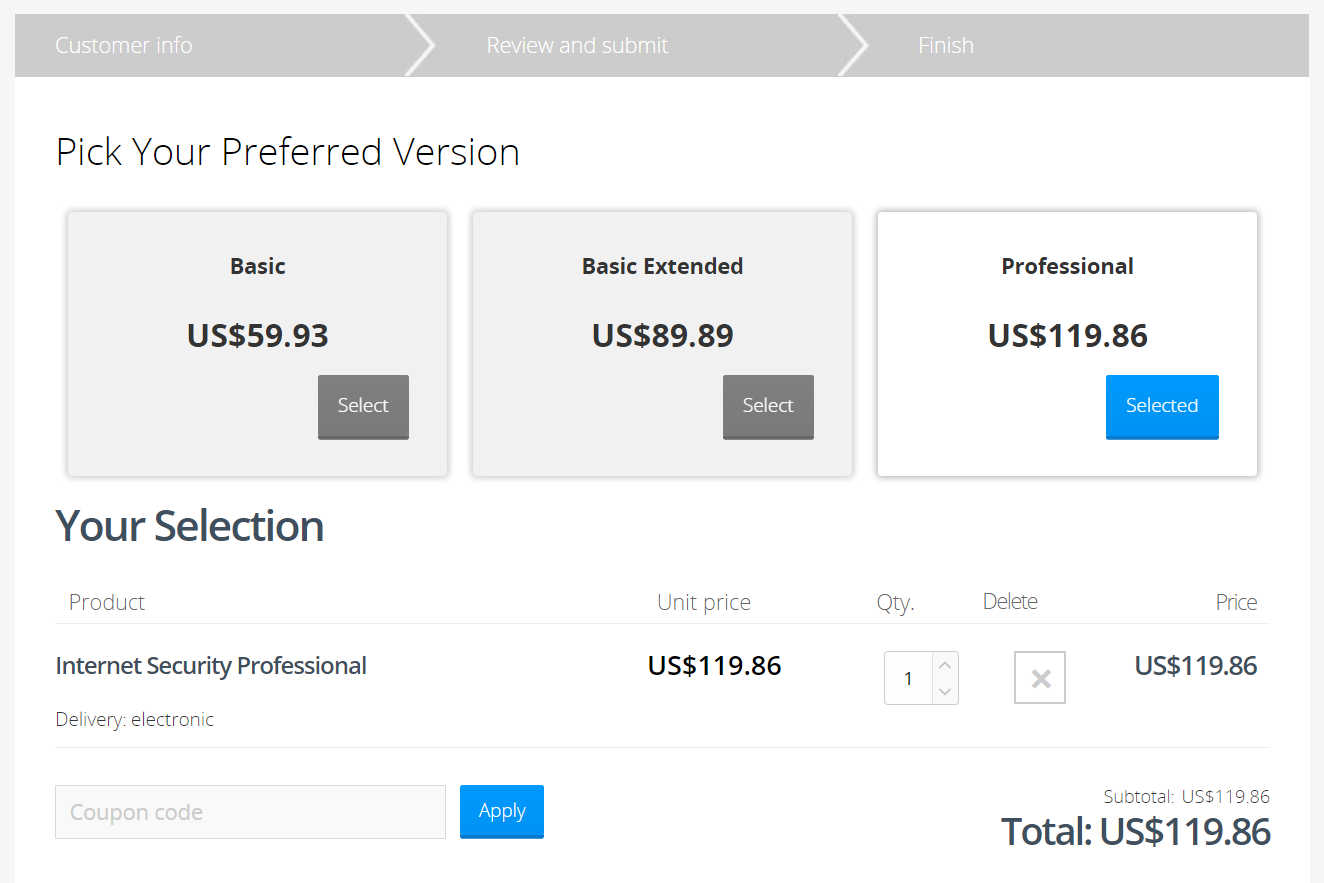
- Basic priced at $59.93
- Basic Extended priced at $89.89
- Professional priced at $119.86
The most expensive version comes with additional features. Customers can then decide which version is best suited to their needs.
To achieve this use case, use our Product Selections feature available in Configure > Selection Menus in our web admin tool.
Product Selection Menus is a pick list that helps your customers select the most advantageous product version offer. This can be interesting if you sell different packages of the same product and you wish to up-sell the customer![]() An individual or business purchasing your product or service by placing an order through Cleverbridge. The customer is the end user of this product, as they are not allowed to resell the purchased products or services.
A customer is unique per client. If a customer purchases products or services from two different clients, there are 2 separate records of said customer..
An individual or business purchasing your product or service by placing an order through Cleverbridge. The customer is the end user of this product, as they are not allowed to resell the purchased products or services.
A customer is unique per client. If a customer purchases products or services from two different clients, there are 2 separate records of said customer..
Example
The example below shows a customer choosing between the basic, basic extended, and professional version of a product. The customer selects the professional version, which comes with a higher value of more extended features than the initially chosen basic version of the product. Discounts can be used to incentivize the professional version further.
Add a Product Selection
To add a product selection to your shopping cart, do the following:
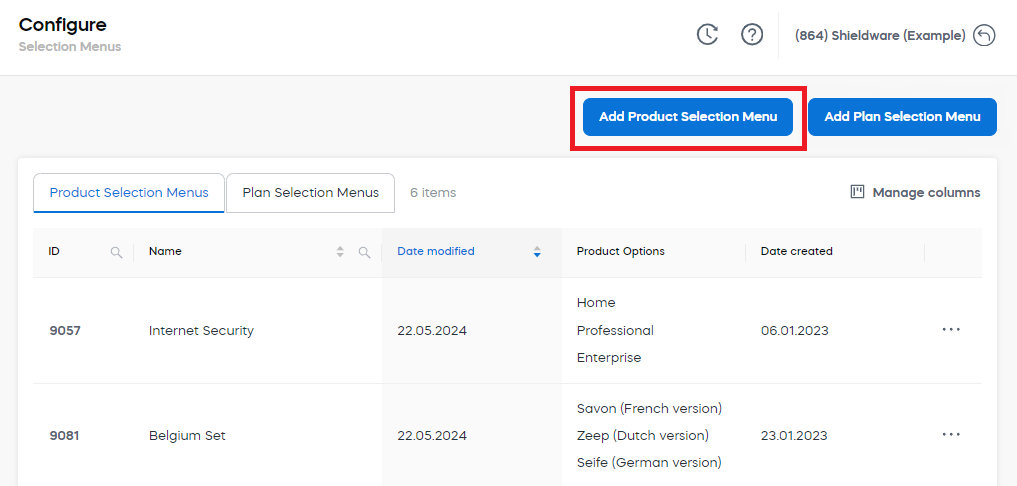
Open the Configure > Selection Menus section in the main menu of our web admin tool. Click the Add Product Selection Menu button and complete the relevant information in the following sections:
General
Name
Enter a unique name for the product selection menu.
Product Characteristics Selection
Select up to three different product versions for one product:
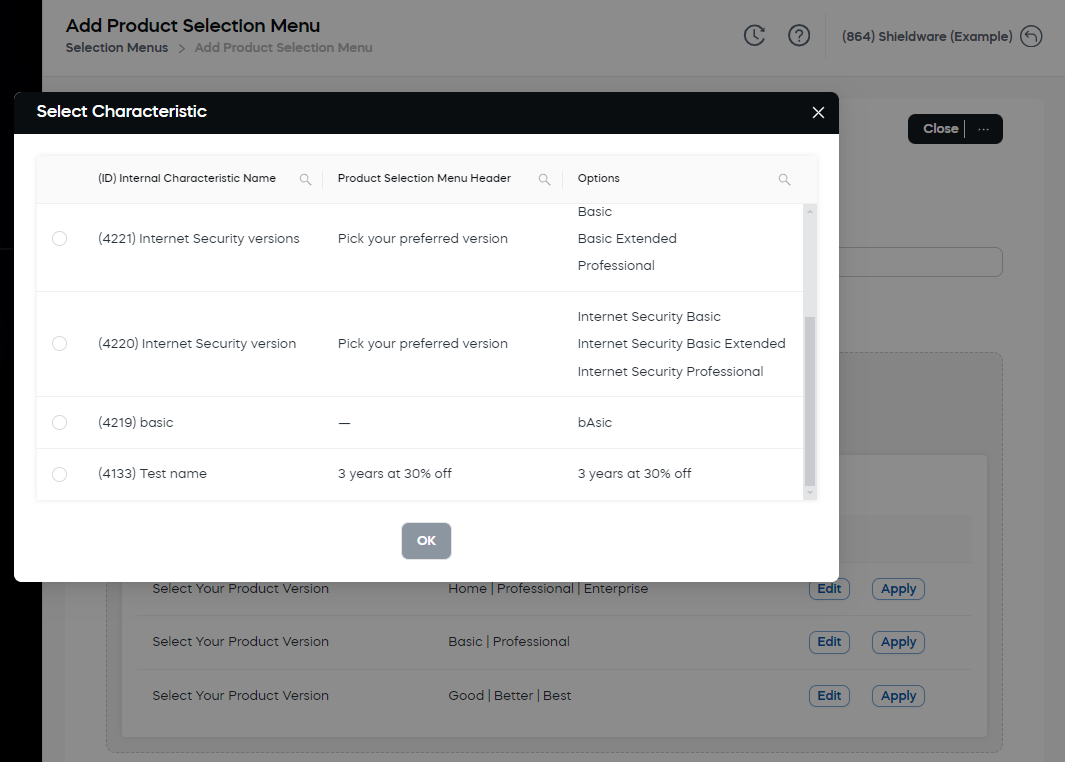
- To choose an existing characteristic, click Select Characteristic.
- To create a new one, click Add New.
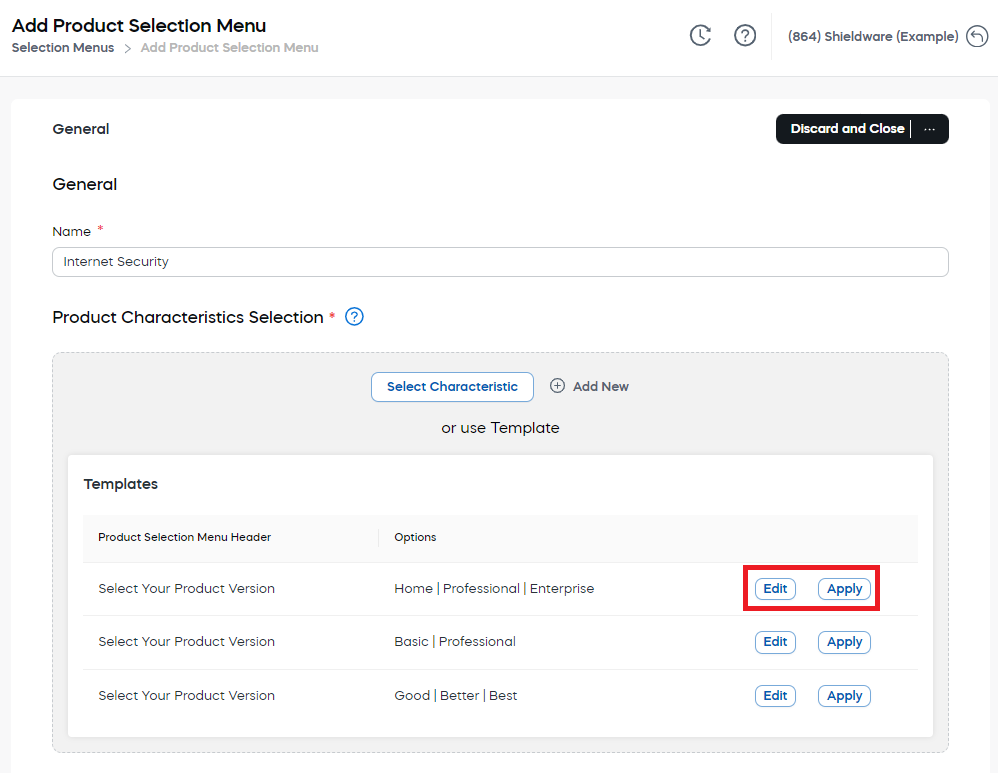
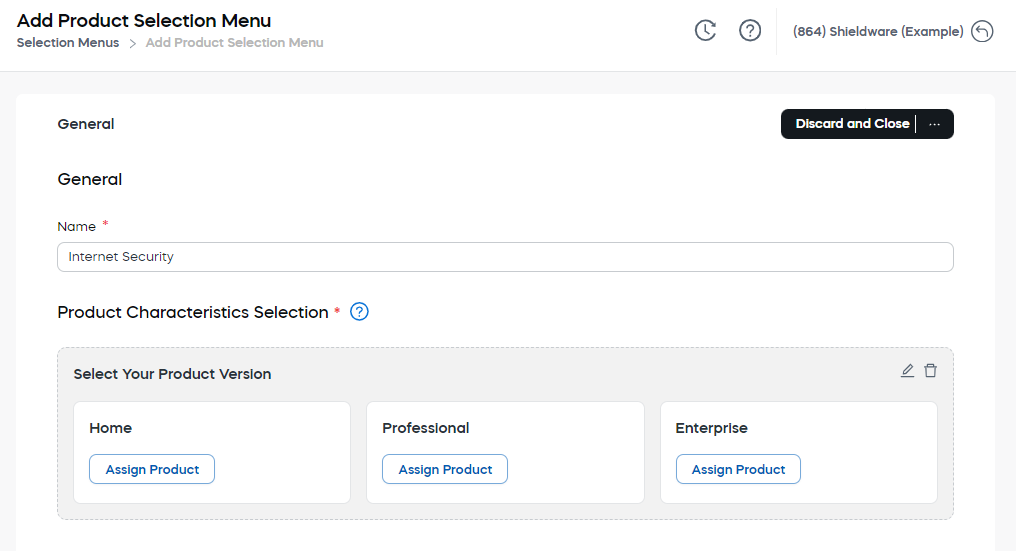
- Use one of the available templates.
- Select the Characteristic ID and click OK.
- Click Assign Product to choose the products you wish to include in the product selection menu.
- Click OK.
- Enter the main features for each assigned product so they appear under each product version in the cart. Product features make it easier for the customer to choose between different versions in the product selection.
- Enter a header for the product selection menu options and click Submit.
- Click Assign Product and choose the product you wish to include in the product selection menu.
- Click OK.
- Enter the main features for each assigned product so they appear under each product version in the cart. Product features make it easier for the customer to choose between different versions in the product selection menu.
- Enter a unique name for the characteristic under General.
- Click Apply to select a template or Edit to adapt the template to your needs before submitting.
- Click Assign Product for the desired characteristic and choose the product you wish to include in the product version.
- Click OK.
- Enter the main features for each assigned product so they appear under each product version in the cart. Product features make it easier for the customer to choose between different versions in the product selection menu.
Tip
While selecting product versions, you can enter the main features for each assigned product so they appear under each product version in the cart. Adding product features makes it easier for the customer to choose between different versions in the product selection menu.
General Setup
Internal Characteristic Name
Enter a unique name for the characteristic.
Select Product Selection Menu Header
Enter a header for the product selection menu.
Options
Select Product Option Header
Click Save and Close.
