Set Up a Tracking Code in the Commerce Assistant
If you want to implement a new tracking code in your checkout process, complete the following steps before adding it to your production environment.
Step 1: Check if the tracking code is available
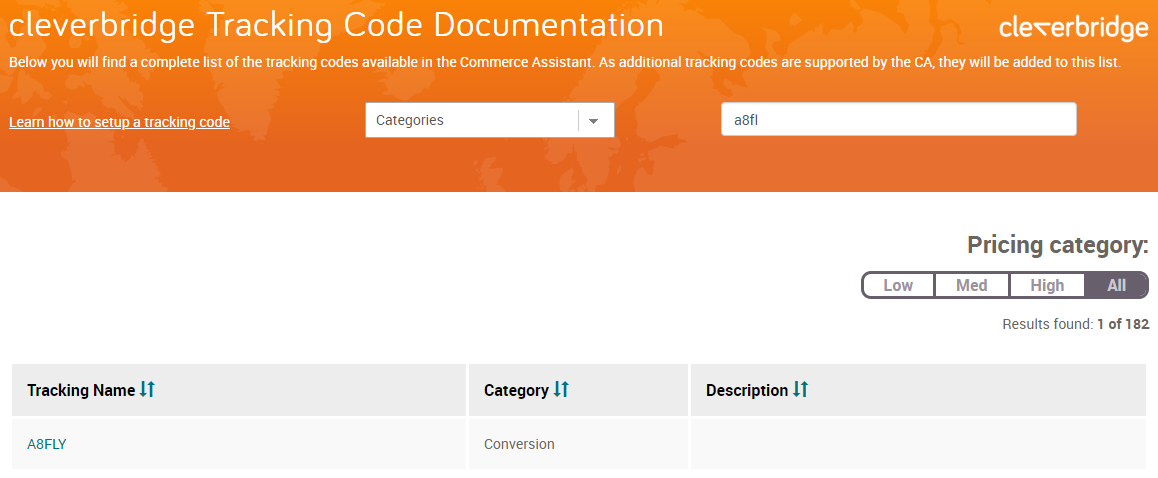
- Go to trackingcodes.cleverbridge.com.
- Search for the specific tracking code you want to use and make a note of the Tracking Name.
Important
If the tracking code is NOT available, complete the new tracking code form and send it to Client Experience. You must use your Cleverbridge credentials to access the form.
Step 2: Add the tracking code in Commerce Assistant
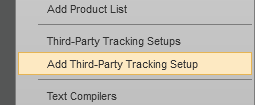
- In the main menu of the Commerce Assistant, select Tools > Add Third-Party Tracking Setup. The Third-Party Tracking Setup portal opens.
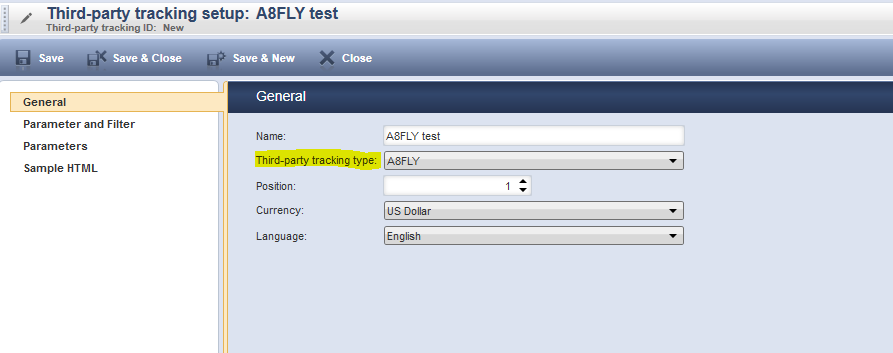
- On the General tab, enter and select the information for the tracking code that you want to use.
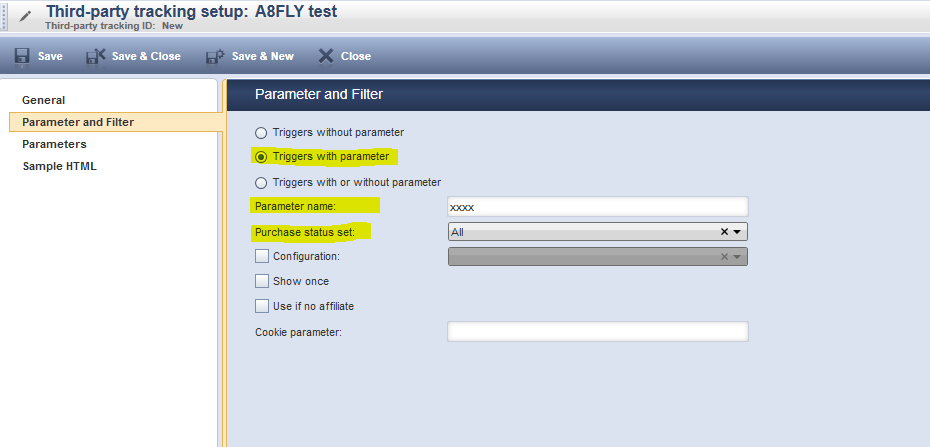
- Select the Parameter and Filter tab and do the following for testing purposes:
- Select the Triggers with parameter radio button
- Add a Parameter name value that will be used to test the tracking code
- Select All from the Purchase
 An order made by a customer and the records associated with it. status set drop-down list. This will be used in the testing step as a trigger for test orders.
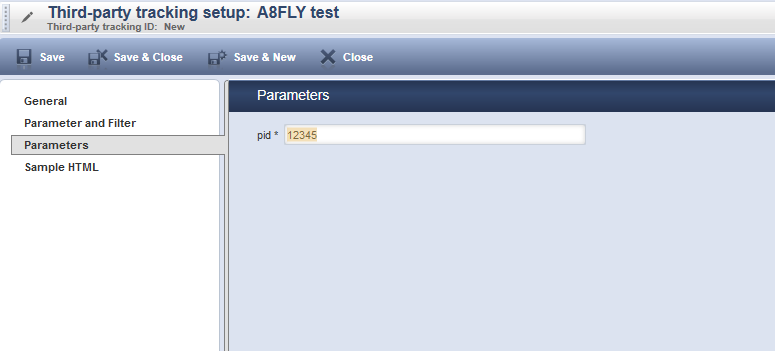
- Select the Parameters tab and enter a parameter value in the pid* field.
Note
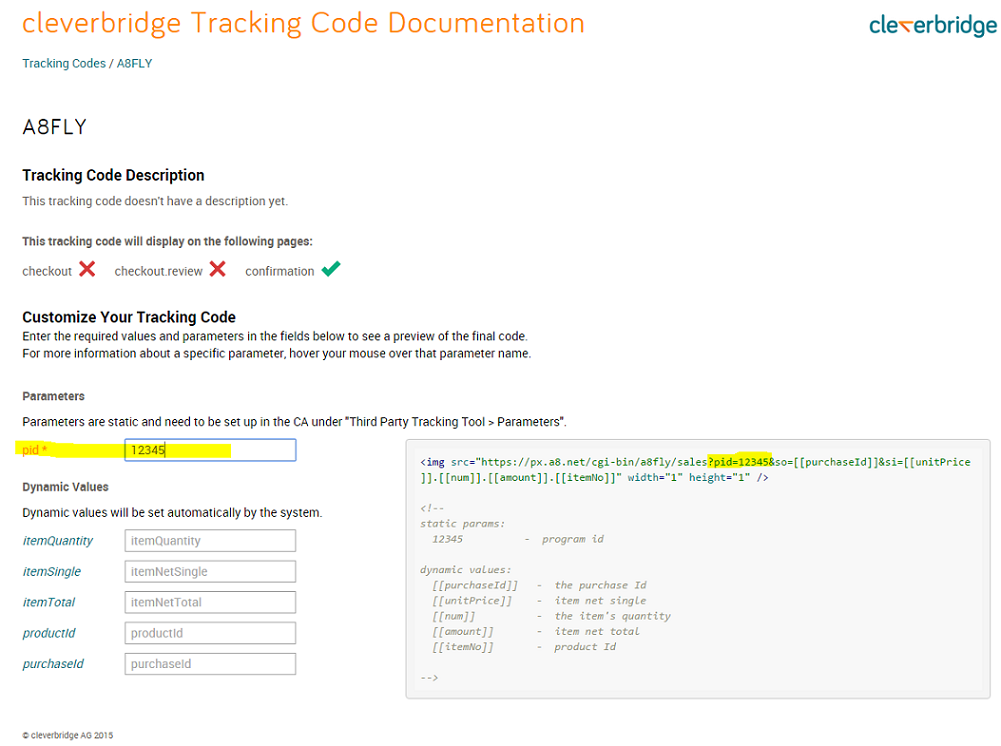
You can use the Cleverbridge Tracking Code Documentation to see how the parameters are implemented in the checkout process. In the following example, the user entered a value in the pid* field, and the documentation returned a code sample demonstrating how the key/value pair is implemented.
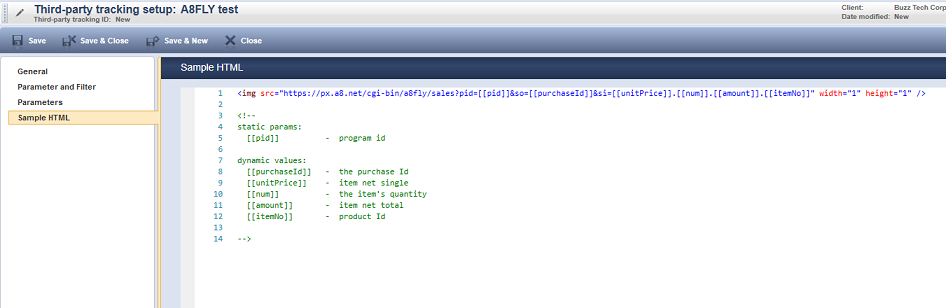
- Select the Sample HTML tab and review the code, as well as the static and dynamic parameters that are available.
Note
For more information on the fields in the Third-party tracking setup portal, see Manage a Third-Party Tracking Setup in the Commerce Assistant.
Step 3: Test and implement the tracking code on your checkout pages
- In the main menu of the Commerce Assistant, select Tools > Link Generator.
- In the Additional URL parameters field, enter the
Trackingparameter and the value you saved under Third-party tracking setup > Parameter and Filter > Parameter name. You will use the Destination URL to test the tracking code.Example
Parameter name:
xxxxDestination URL:
https://www.cleverbridge.com/677/?scope=checkout&cart=130743&tracking=xxxx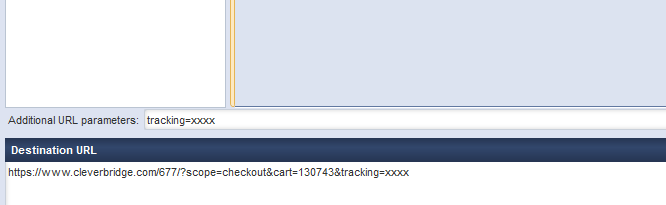
- Open the Tracking Code Documentation for your tracking code to learn where the tracking code will be triggered in the checkout process.
Example
In the following example, the tracking code will be triggered on the confirmation page
The confirmation page is displayed after a customer makes a purchase. The confirmation page contains the order confirmation and delivery information..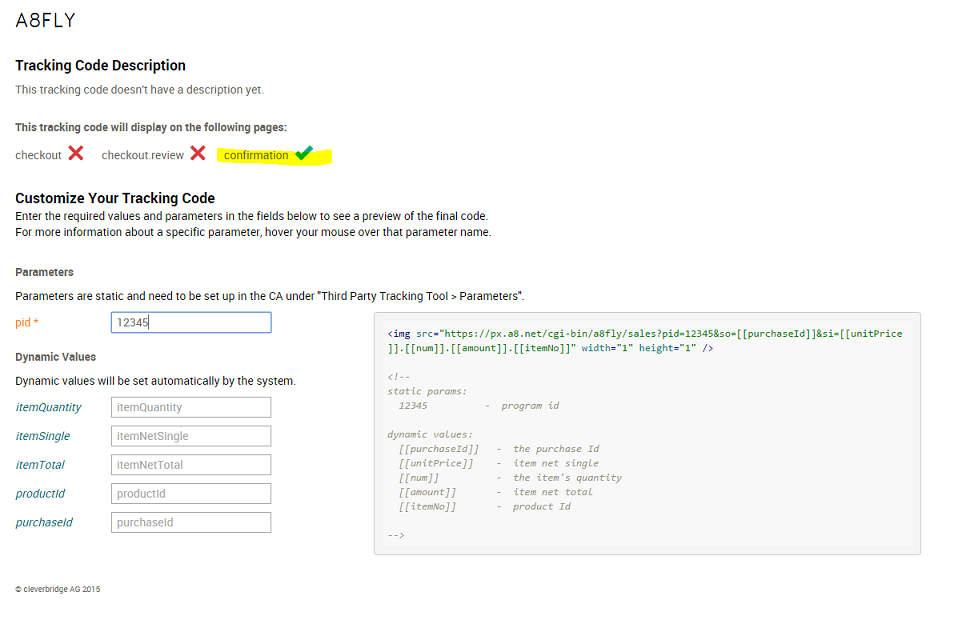
- Try out the URL that you created above, and view the source code to verify that the tracking code is working properly in every scope.

Step 4: Implement the tracking code in production
- Open Third-party tracking setup > Parameter and Filter and update the tracking code trigger options to fit your specific business needs. For more information about the fields in this section, see Manage a Third-Party Tracking Setup in the Commerce Assistant.
Important
If you want to use a tracking code for reporting & analytics purposes, it should always be triggered from the confirmation page.
- Implement the tracking code on your Cleverbridge-hosted checkout pages.