Use email editor
Overview
The email editor is a tool designed to help users craft, customize, and optimize emails used within the Automations functionality. When an automation workflow is created, the tool will automatically generate emails based on the automation settings. To view and manage the email content, click the email block of the flow. In the emerged window, you can:
- set up email configuration.
- edit the subject and preview text.
- modify header settings, including logo settings.
- adjust the margin and padding.
- edit the email body.
- preview and test the updates.
- apply the updates to the chosen language or all languages.
The changes applied to the email block will be applied to this specific block only. It will not affect other emails in the flow.
Email configuration
The Email Configuration section contains the basic styling settings and sender's details that are applied by default, but can be adjusted for each specific email.
Basic styling settings
By default, the emails are created with the default styling theme and email margin of 25 px.
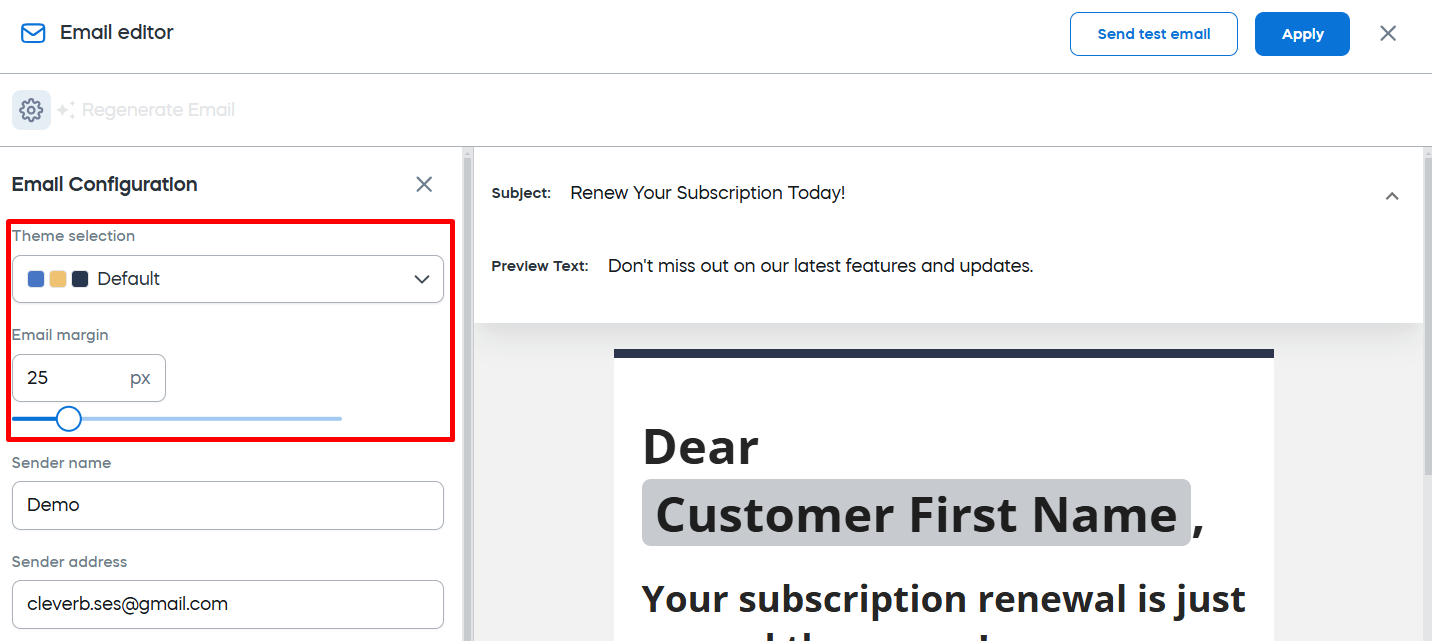
- Styling themes control such elements as fonts, colors, layout, and other elements for a consistent brand experience and a visually cohesive checkout process. All the themes, available for your account are available in the drop-down list. To learn more about the theme settings, see the Create styling themes guide.
- To adjust the email margin, move the slider.
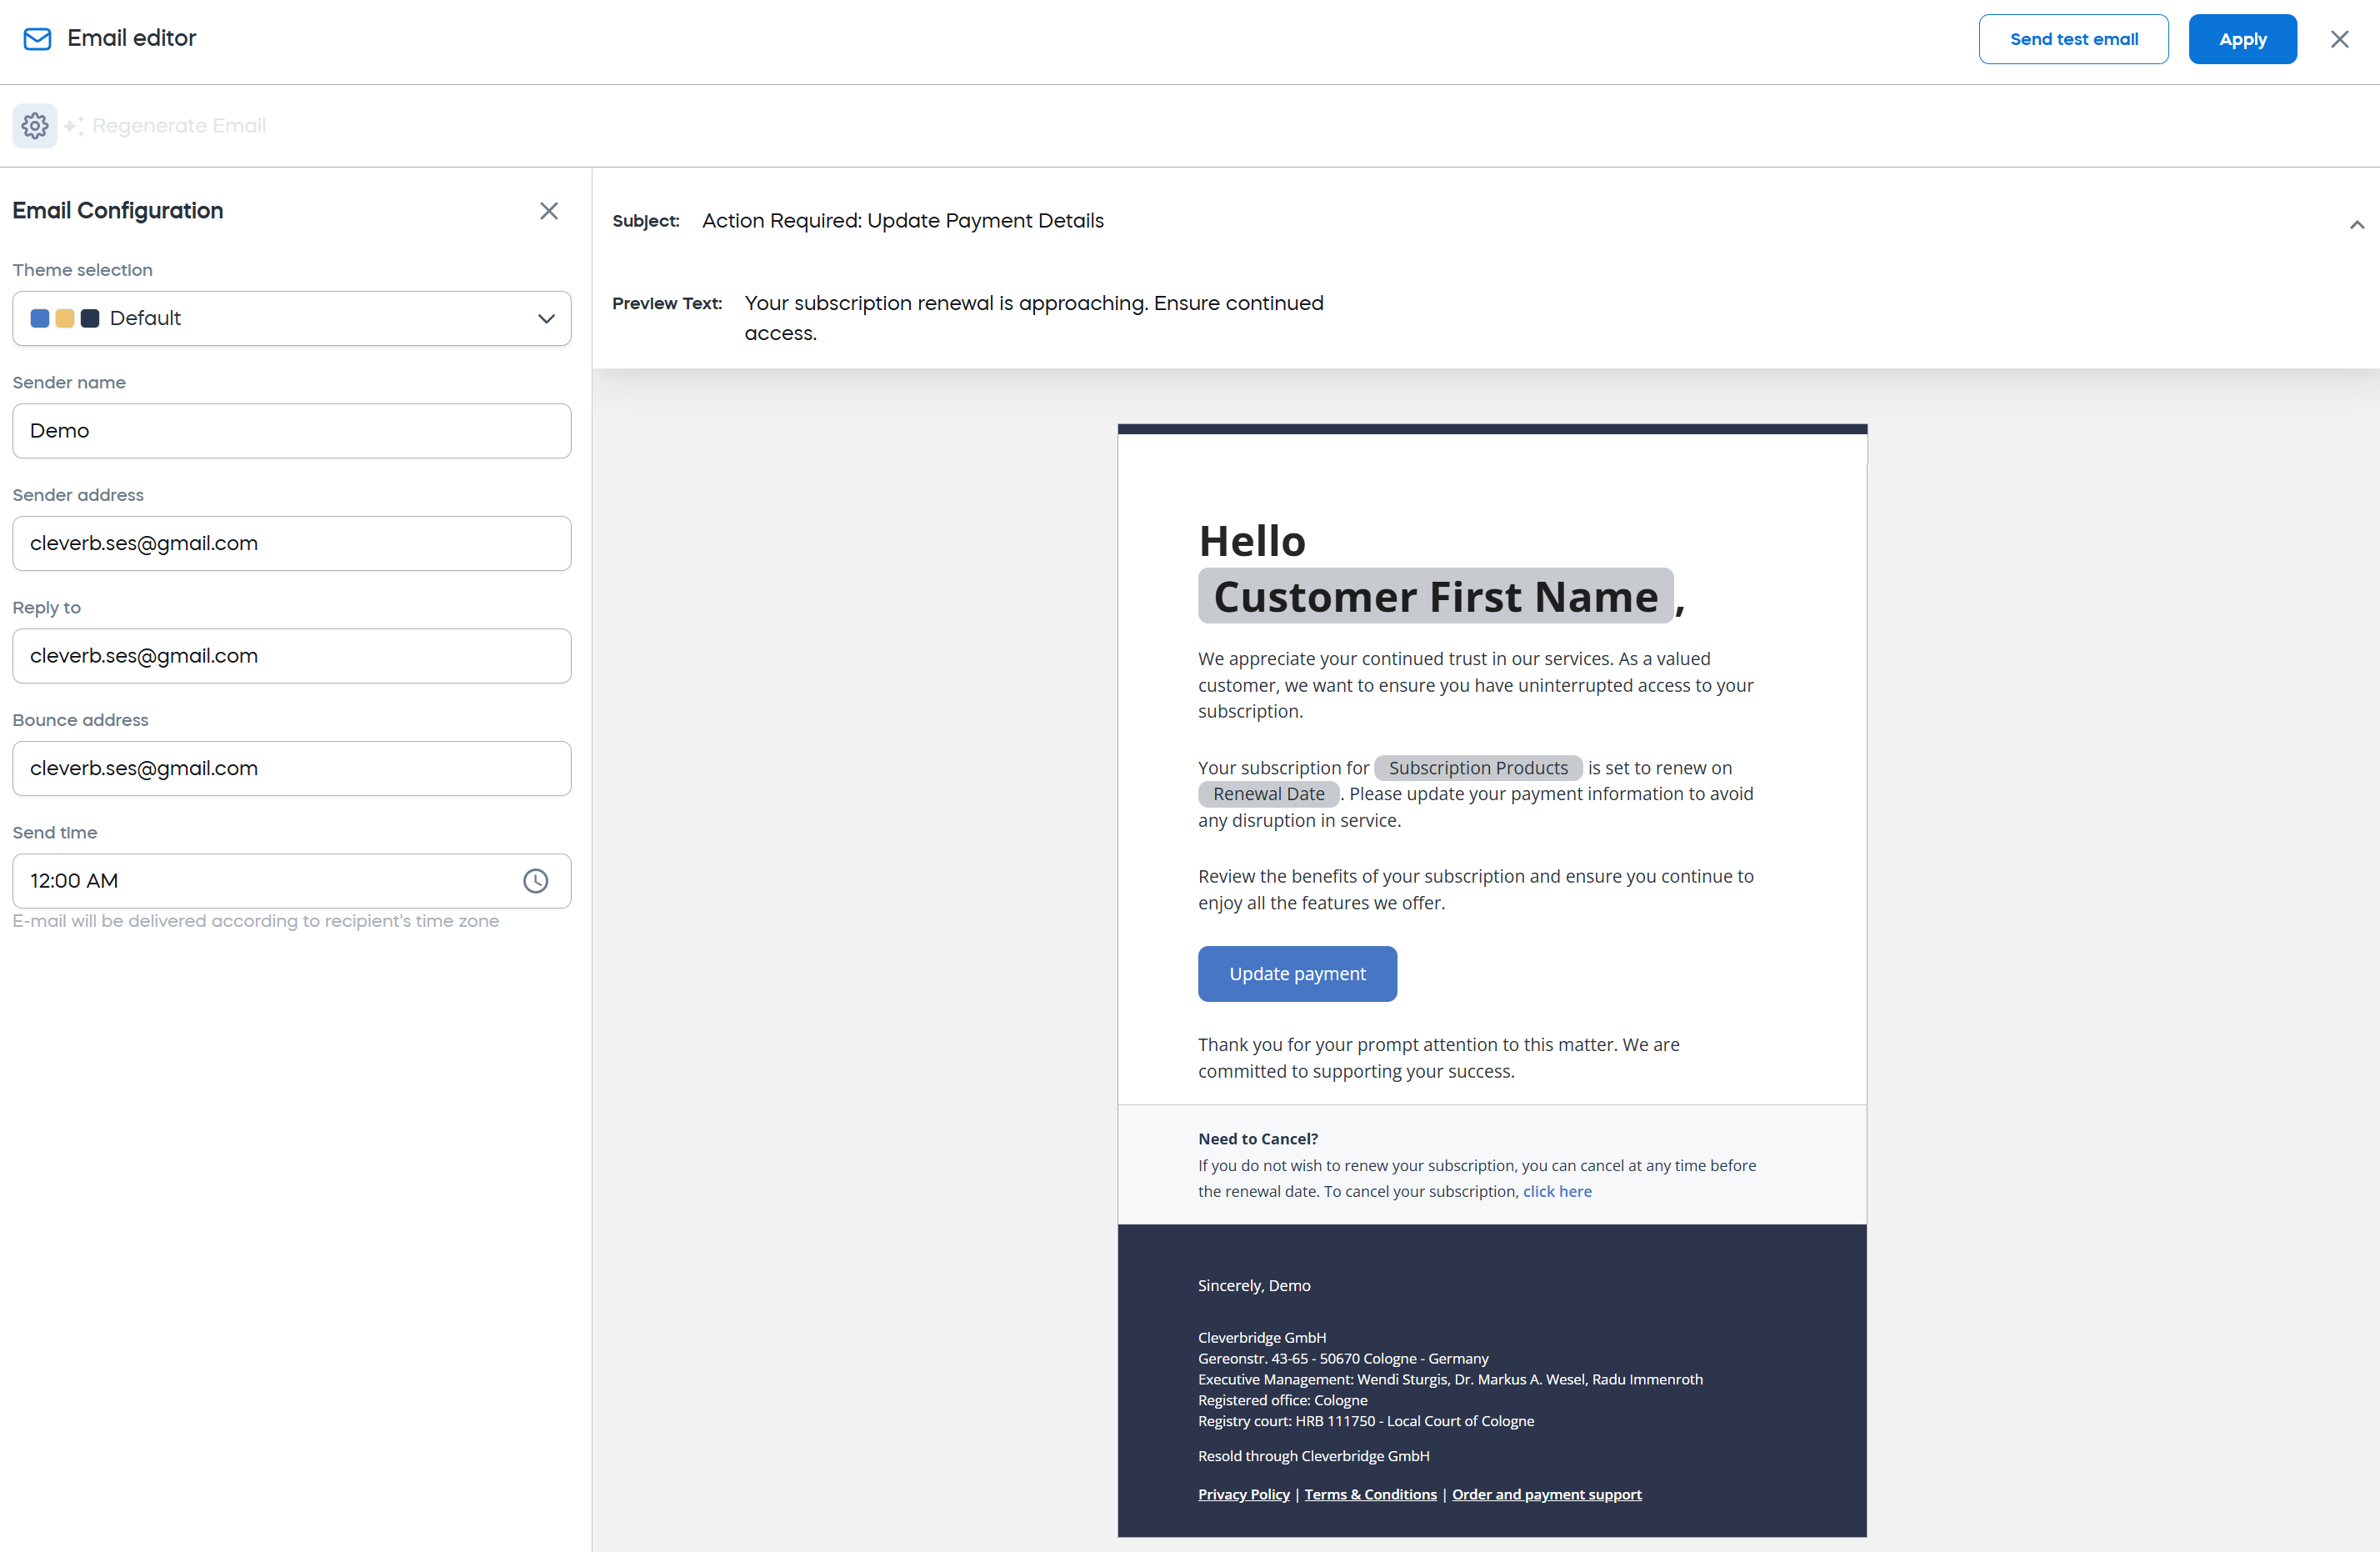
Sender's details
The rest of the Email Configuration settings are by default set to the ones defined in the default email configuration. You can update the following components:
- Sender Name: The name displayed as the sender of the email.
- Sender Address: The email address used to send emails.
- Reply-To Address: The email address where replies to the email will be sent.
- Bounce Address: The email address used for handling undeliverable emails.
- Send Time: Schedule the email delivery time in the recipient’s time zone.
Update email content
Update email content to make it suitable for each step in the automation flow.
Edit the subject line
The automatically generated subject and preview text can be edited for a specific email.
- Click in the subject line text field and select a new subject from the dropdown.
- Click Apply.
Edit the email body
The body of the email is constructed of several typical elements that can be edited, deleted or added.
To add an element:
- In the email editor, hover over the element after which a new element should be added.
- Click the + button and select the element.
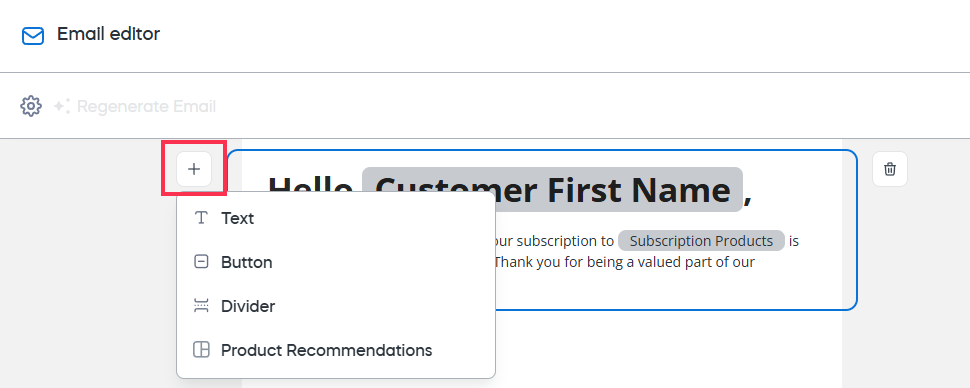
The following elements are available:
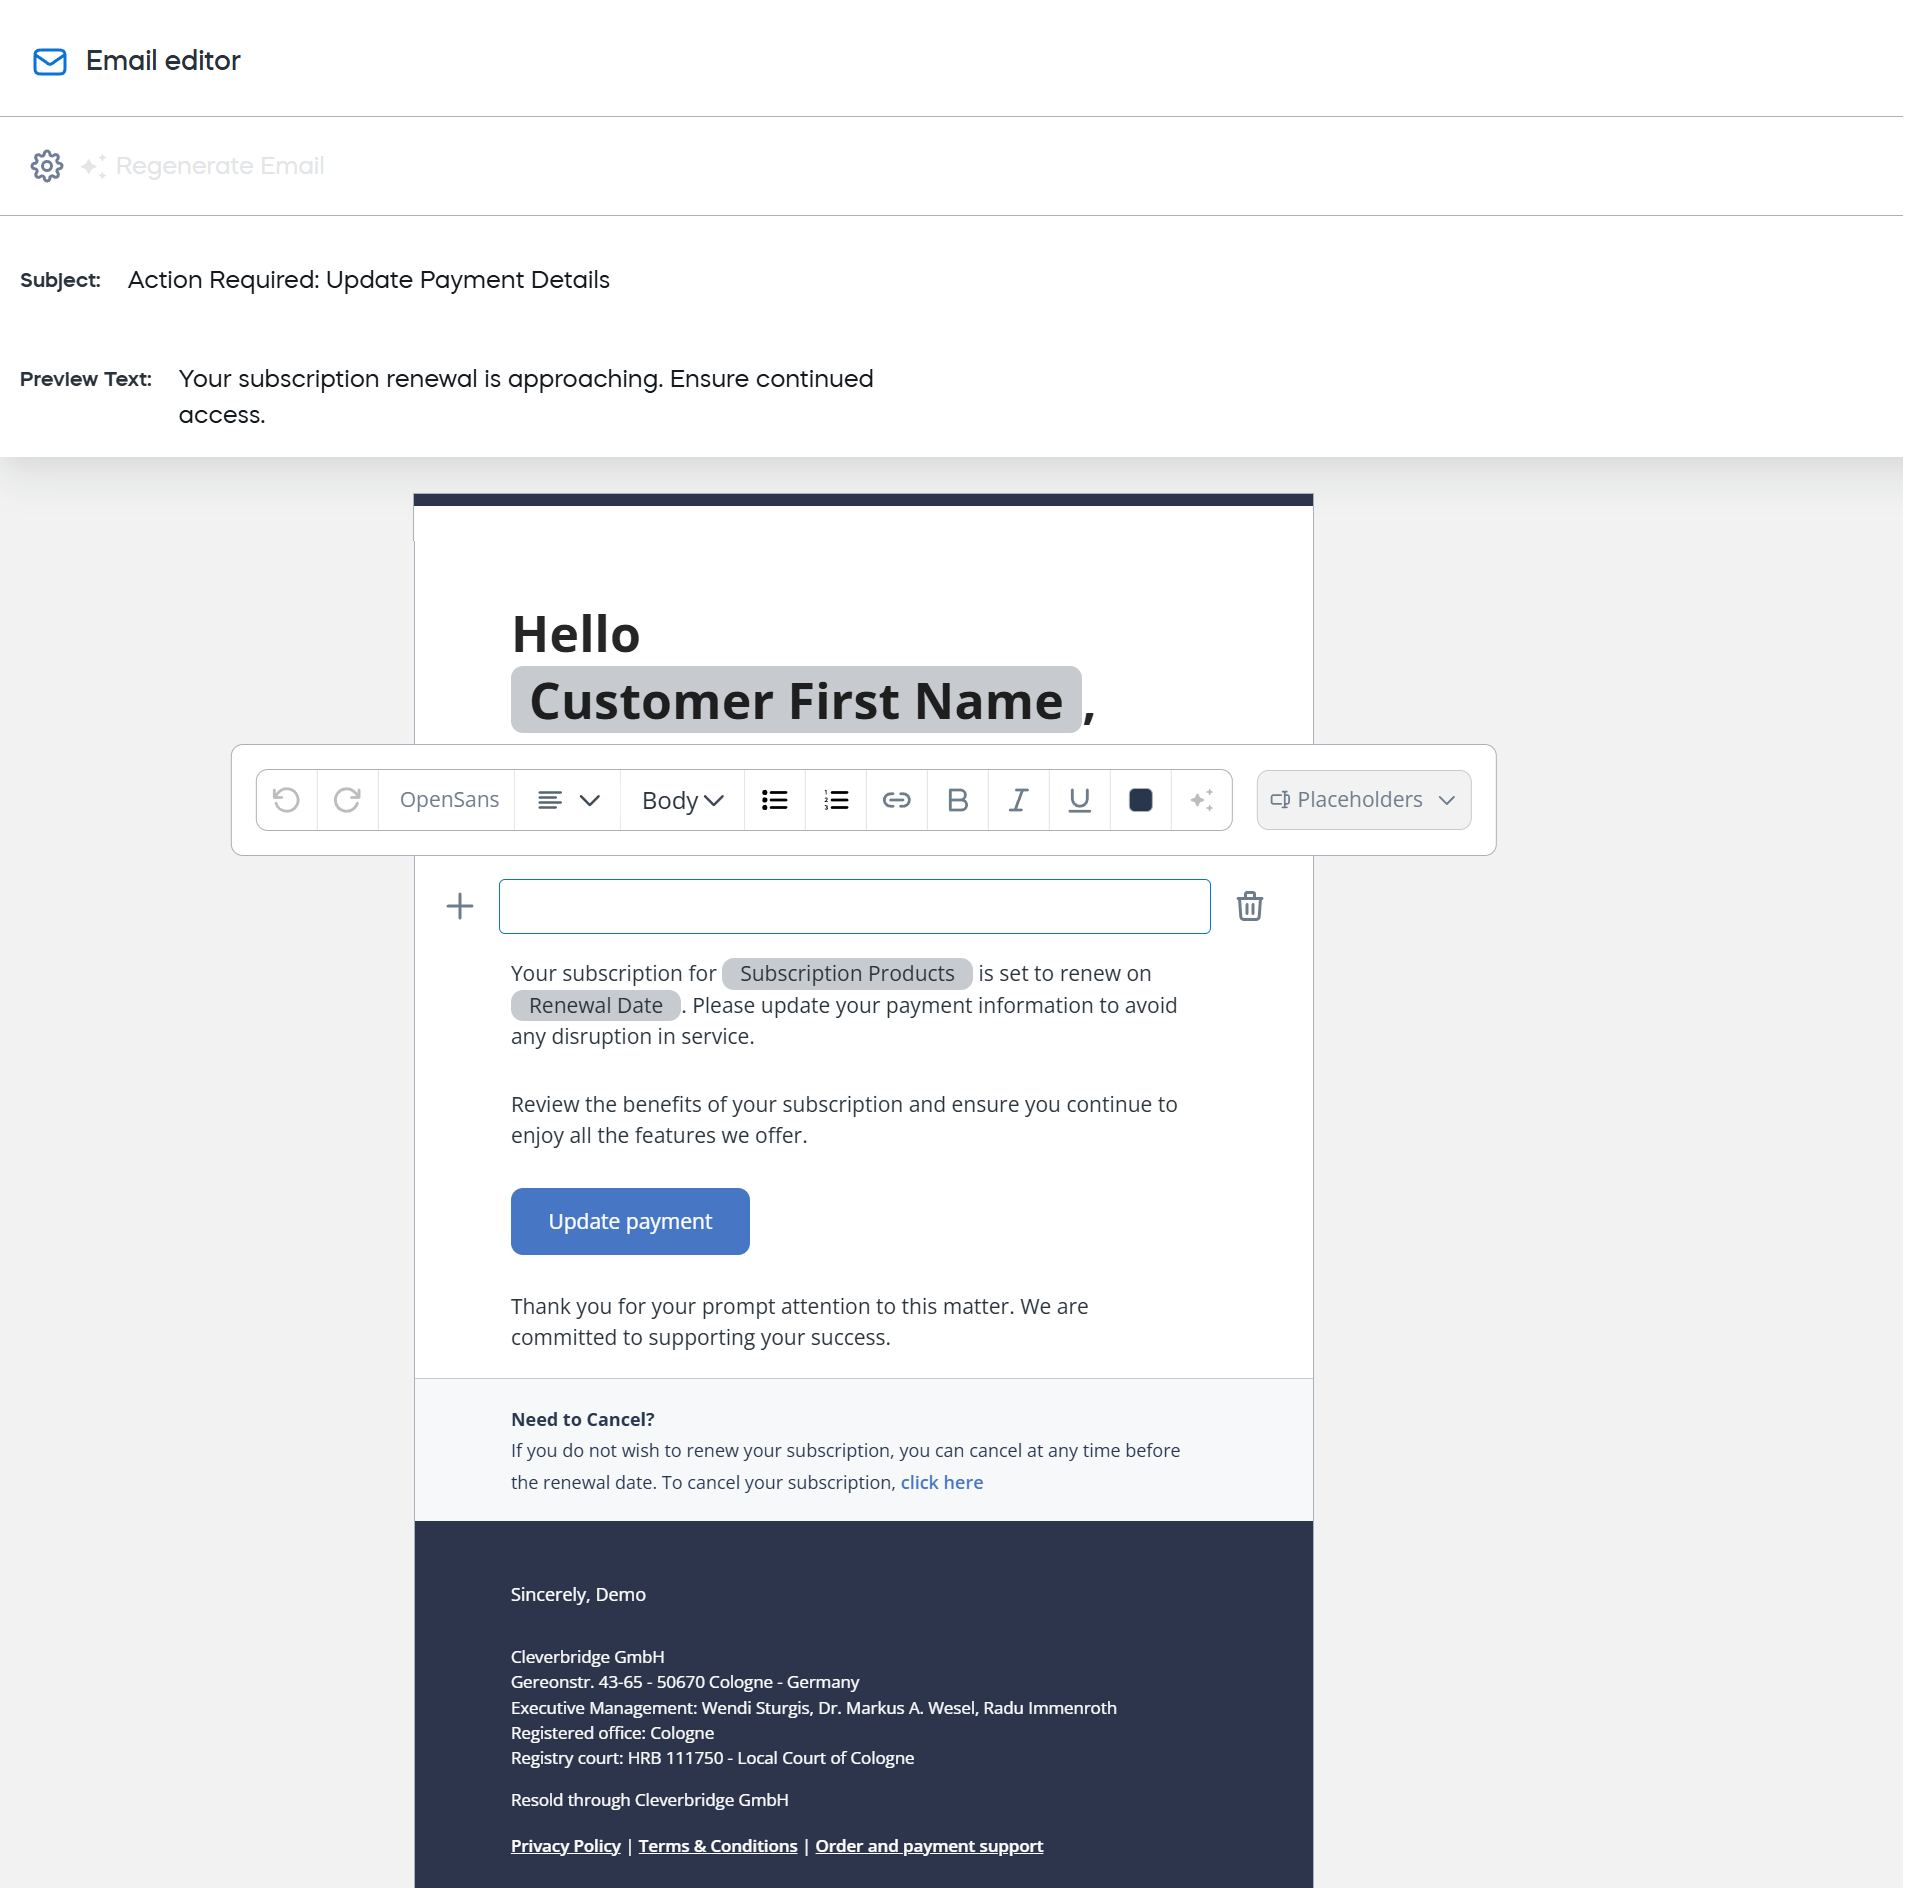
Text
- Purpose: Add written content to your email.
- Customization:
- Change font styles, sizes, and alignment.
- Add placeholders (for example, Customer Name, Renewal Date) for dynamic content.
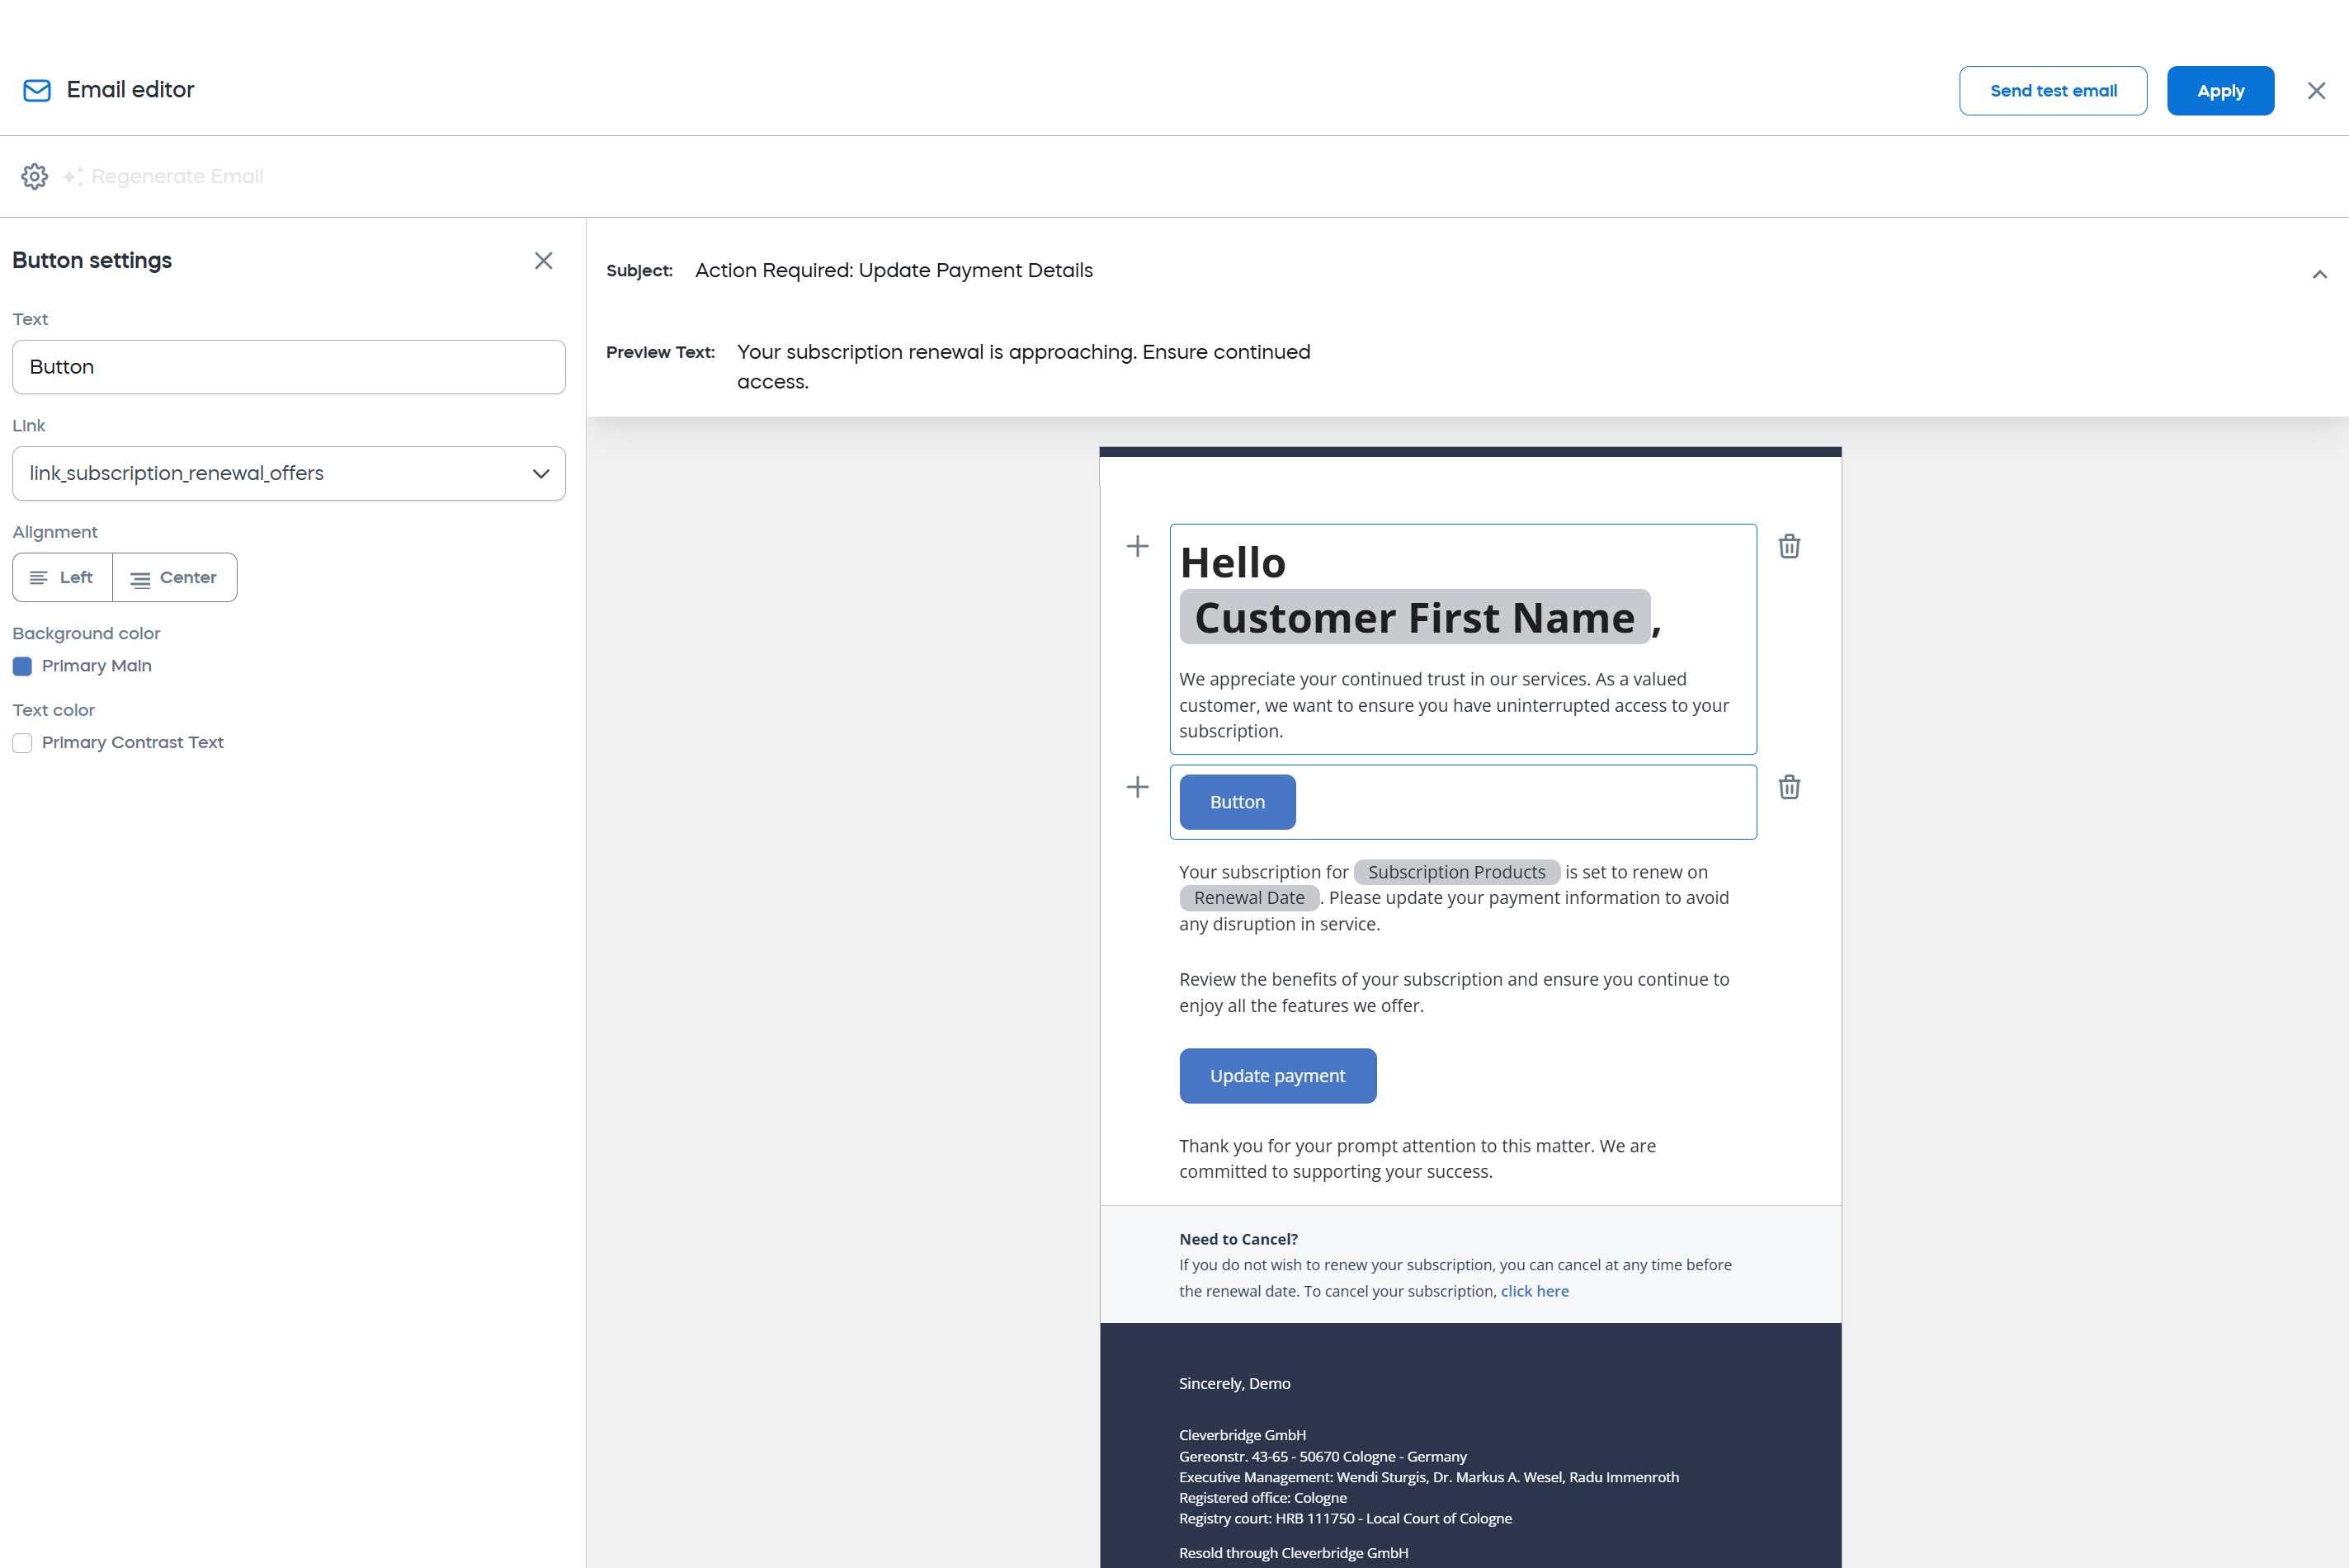
Button
- Purpose: Include interactive call-to-action buttons.
- Settings:
- Text: Customize the label (for example, "Update Payment").
- Link: Assign a URL or action triggered when clicked.
- Alignment: Position the button (Left, Center, or Right).
- Background color: Choose a color for the button.
- Text color: Adjust the button text color.
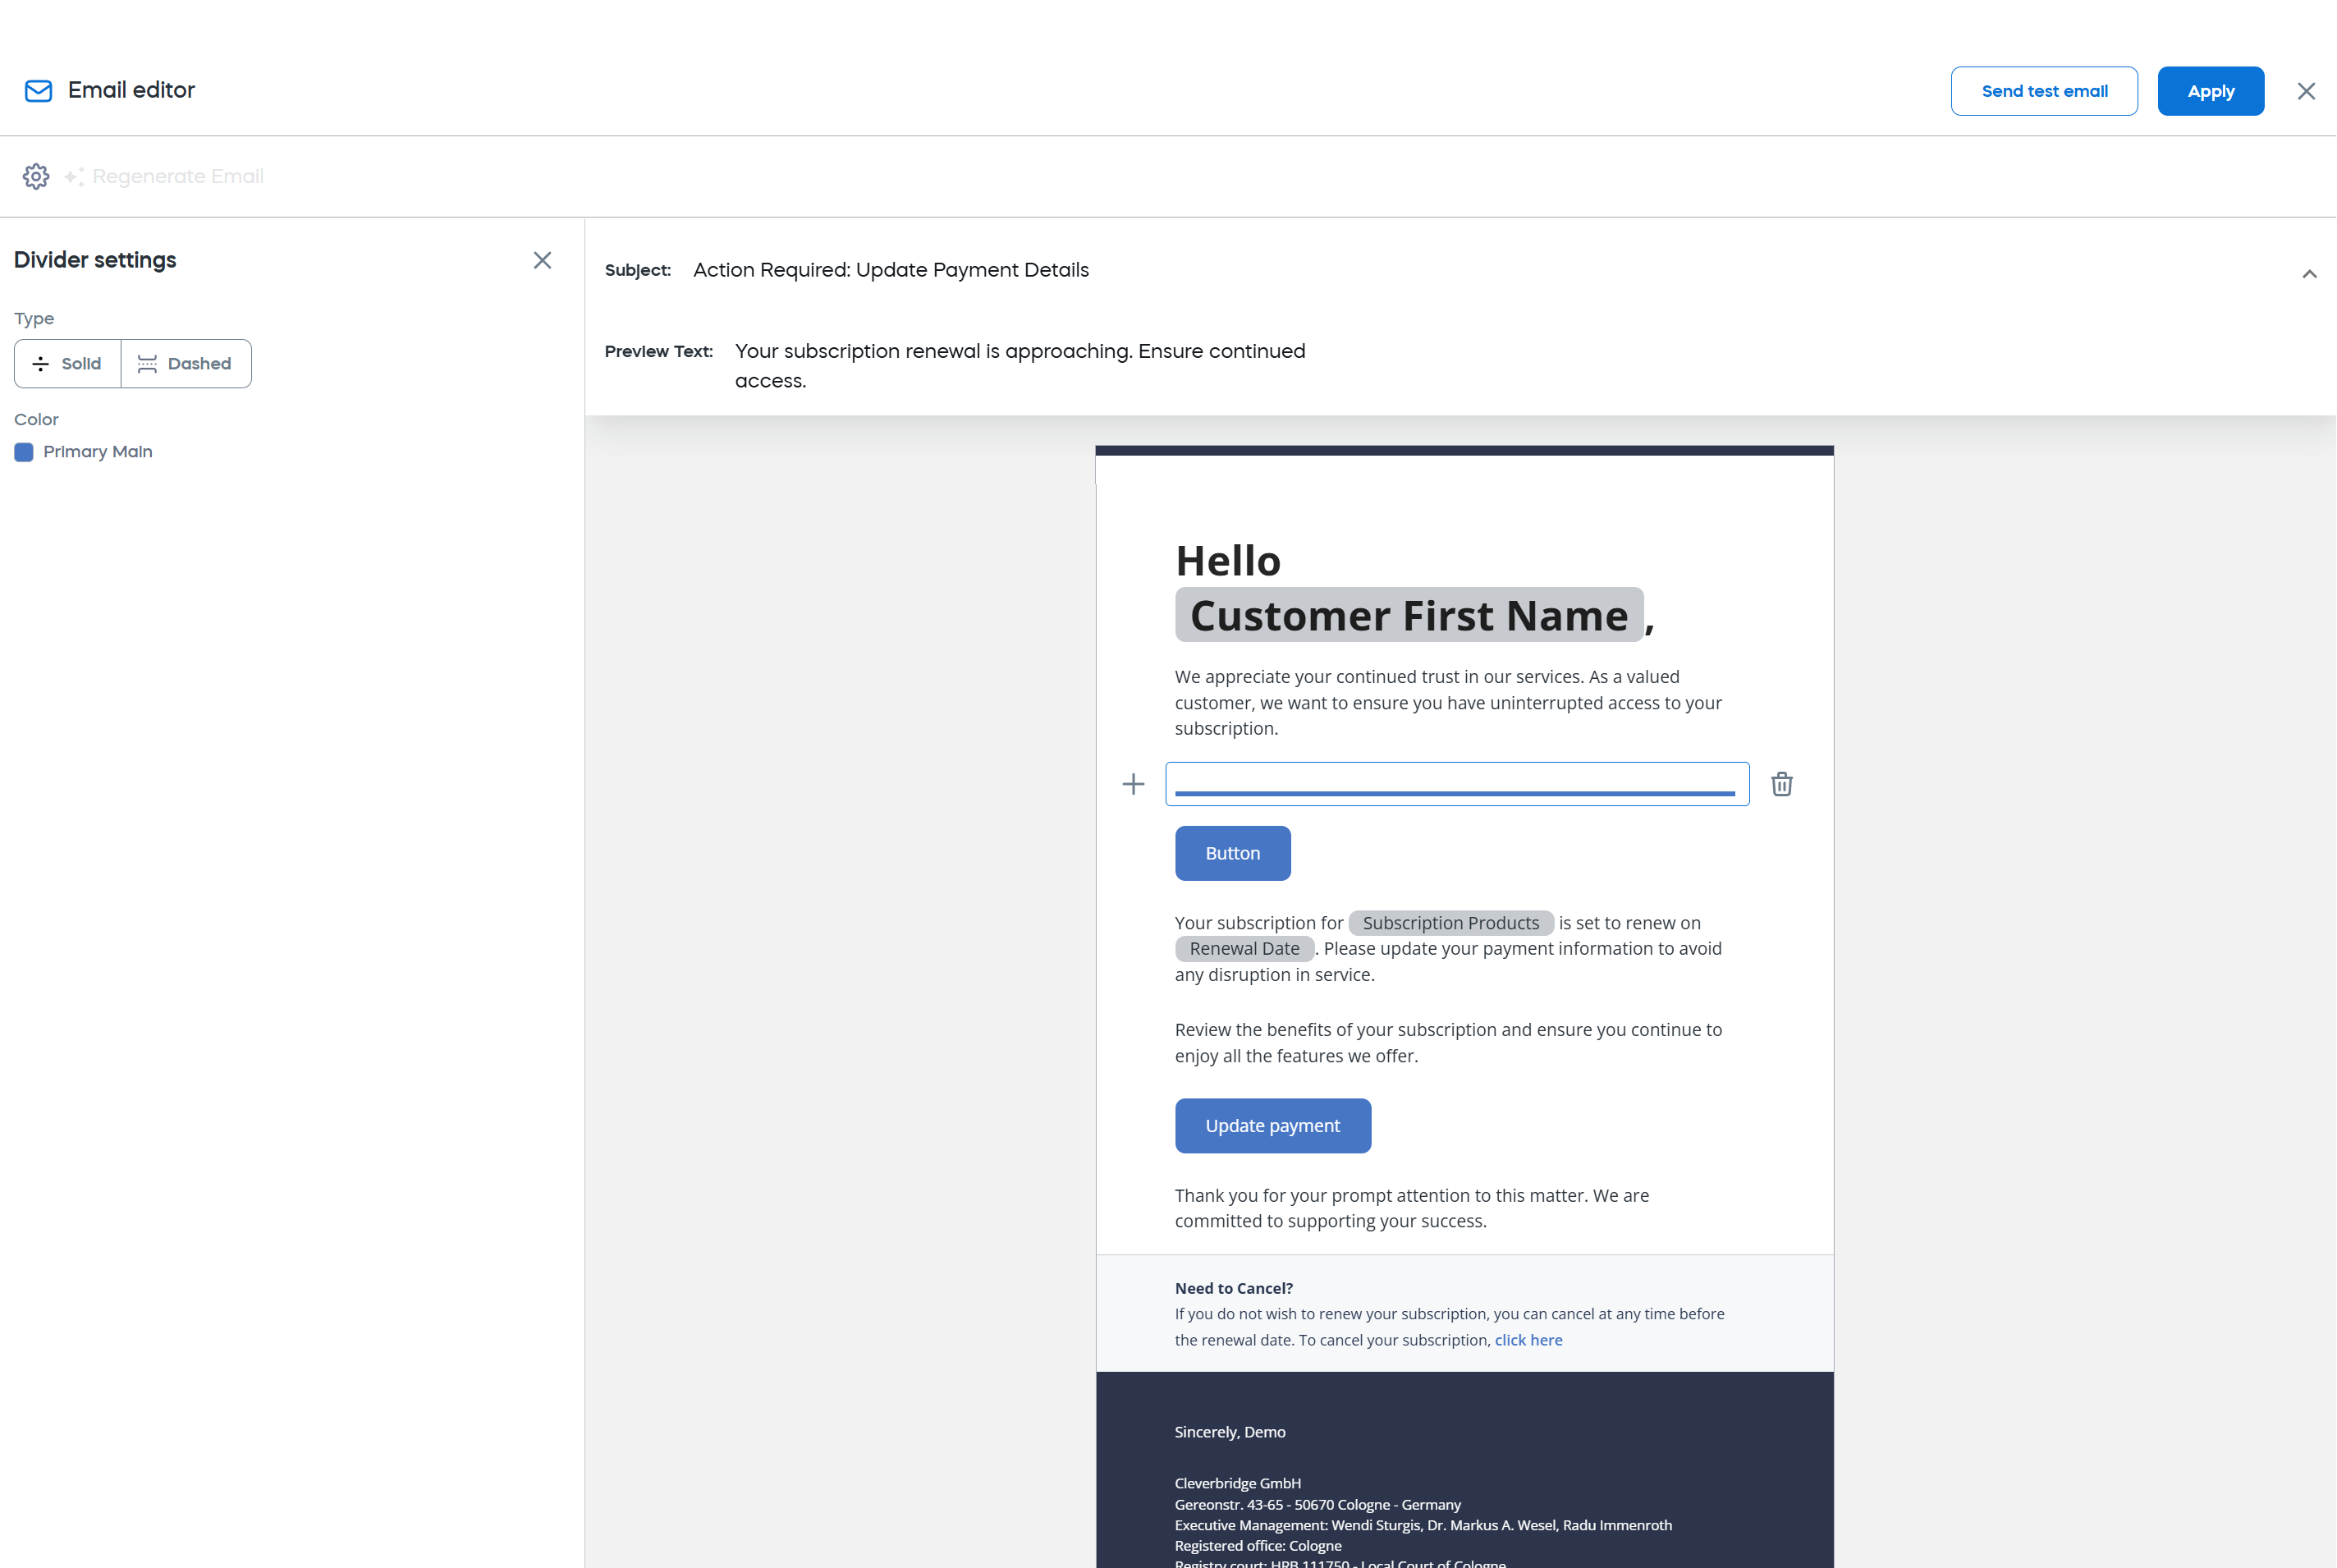
Divider
- Purpose: Create visual separation between sections of your email.
- Settings:
- Type: Choose between solid or dashed lines.
- Color: Customize the divider color to match your email theme.
Product Recommendations
- Purpose: Display personalized recommendations based on customer data.
- Settings:
- Content: Automatically populated with tailored product suggestions.
- Style: Adjust background and text colors.
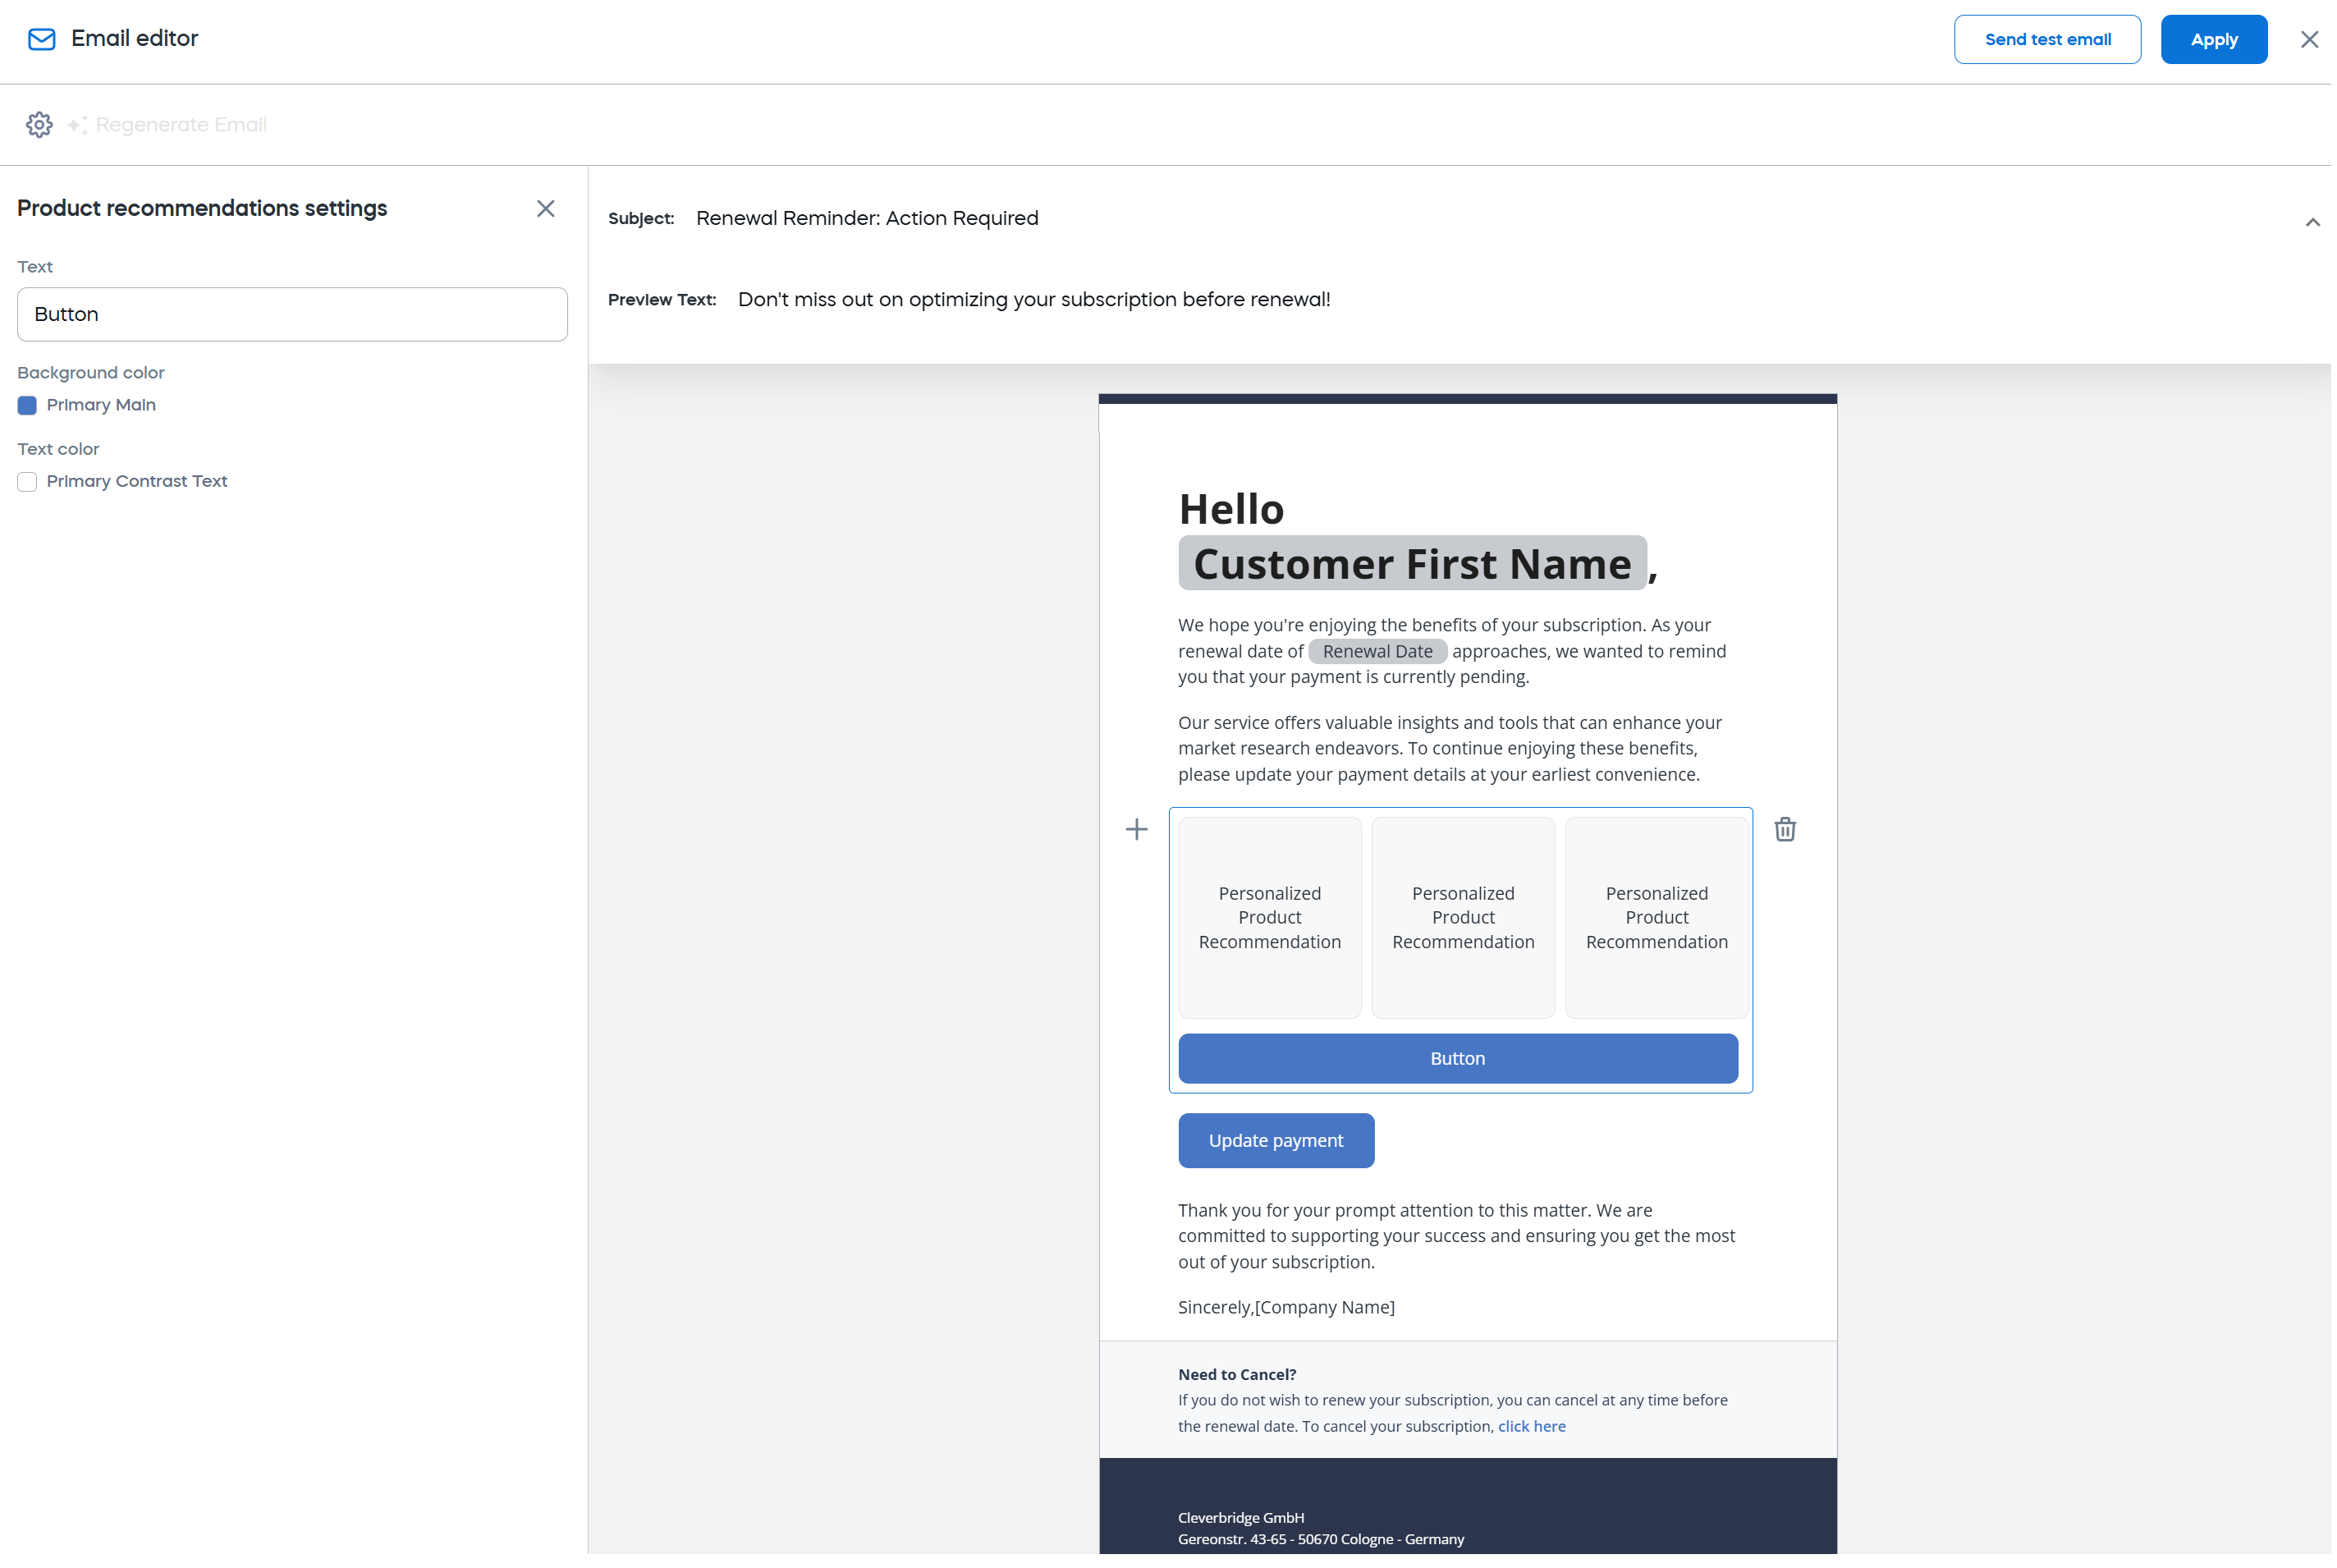
In order to comply with the marketing email requirements, the number of recommendations per email is limited by three unique products.
More styling settings
While the theme and margin are set at the configuration level, you can fine-tune additional settings to refine the look and feel of emails, ensuring they align with your brand's style.
Header highlight
Adjust the color and thickness of the header highlight.
- Hover over and click the header to open the Header settings.
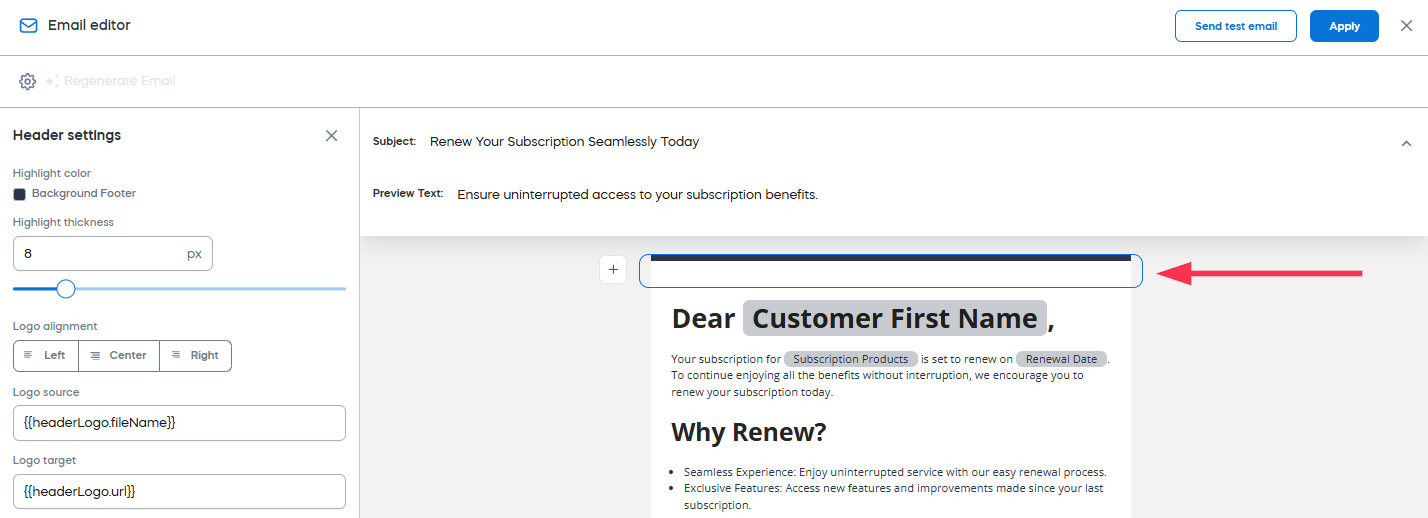
- In the Header settings, click on the Highlight color and use the color picker or your theme colors.
- Use the slider to adjust the thickness of the header highlight.
- Click Apply.
Logo settings
Modify the logo size, alignment and source.
- In the Header settings, under Logo alignment, select Left, Center or Right.
- Add a URL of your logo.
- Use the slider to adjust the logo size in pixels.
- Click Apply.
Header background color
- In the Header settings, click on the Background color and use the color picker or your theme colors.
- Click Apply.
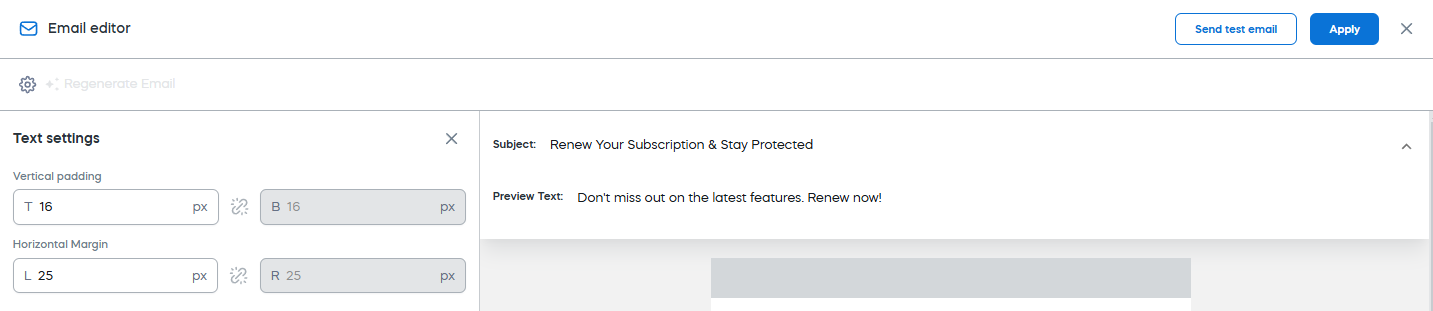
Fine-tuned content margin
Adjust the margin and padding for all email elements.
- In the email editor, click the required email element.
- Select Vertical padding and click the up or down arrow to increase or decrease the padding.
- Select Horizontal Margin and click the up or down arrow to increase or decrease the padding.
- Click Apply.
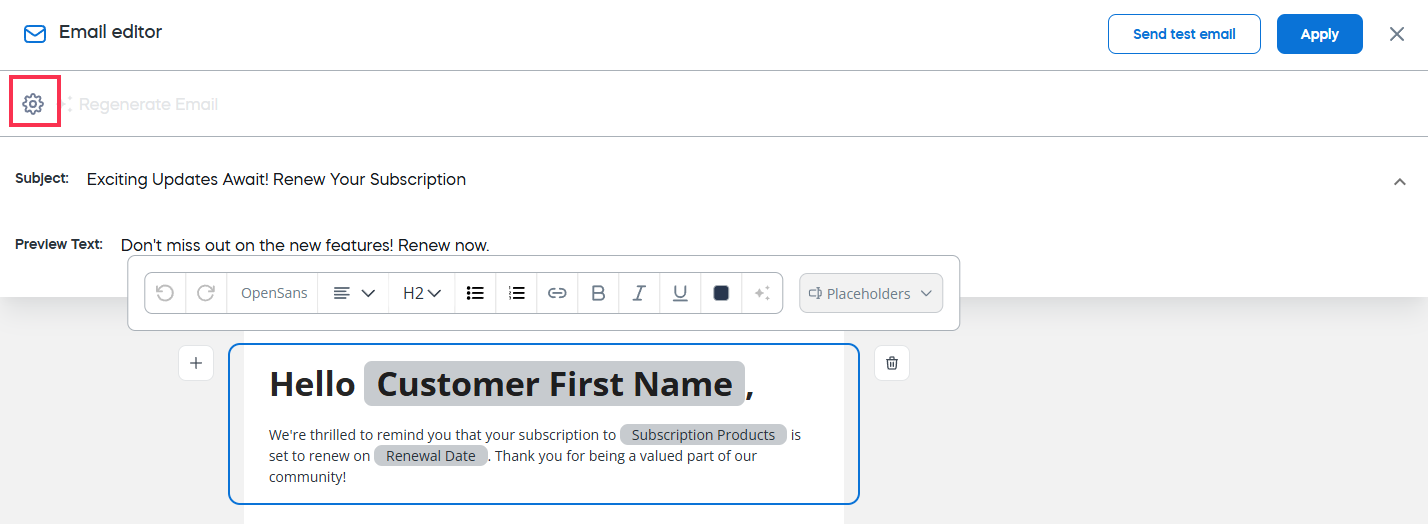
Preview email
Use Preview to see how the email will look:
- In the email editor, click the gear icon in the top left corner to hide the settings.
Test email
Send a test email to ensure proper formatting and functionality:
- In the email editor, click the Send test email button in the top right corner.
- Specify the email to which the test will be sent.
- Click Send test email.
- Click Apply.
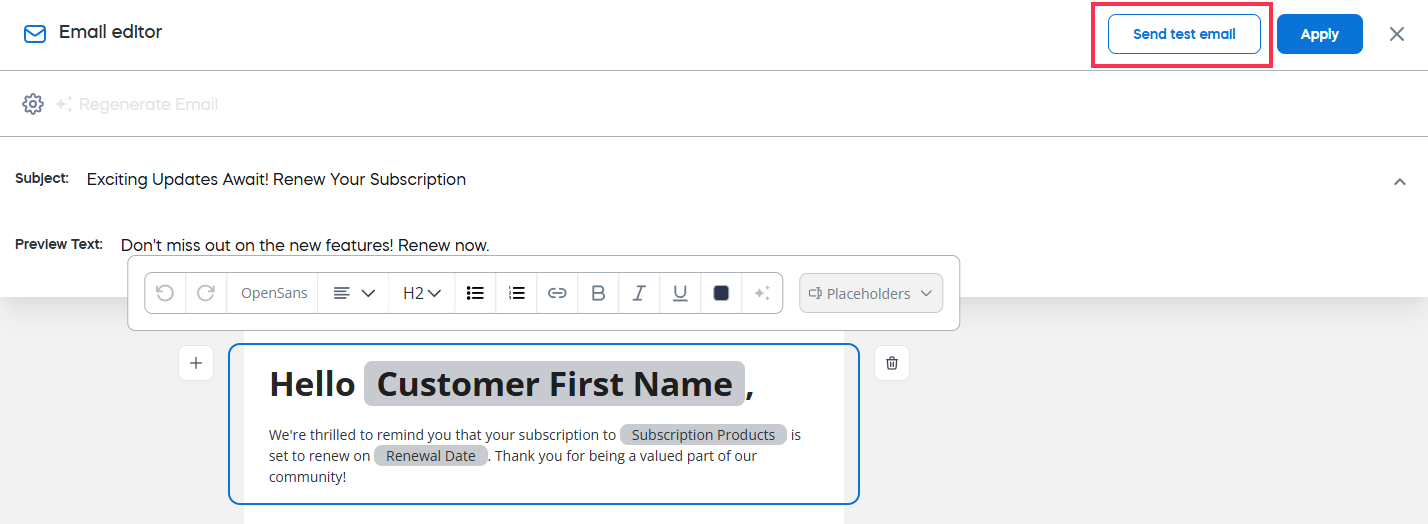
Note: The test email reflects the current settings and changes you've made but haven’t yet applied. These changes will not be saved until you apply the updates.
Apply the updates
You can apply the updates to the chosen language or all languages.
After editing your email, click the Apply button to save your changes. You will see a confirmation dialog prompting you to either:
- update only the English version: This option will save your changes exclusively to the English version of the email.
- apply all and regenerate: This option will propagate your updates across all available translations of the email. If you choose to apply changes to all translations, the system will regenerate translated content to align with the updated English version. Review translated emails for accuracy and localization consistency after this process.
The changes made in the editor will not affect emails in other cadences.