Quick start tutorial
This tutorial shows you the quickest way to get started with Cleverbridge by setting up a single subscription product in SCM. You'll gain a basic understanding of our software that you can expand upon.
By the end of this guide, you'll have a checkout link for a single subscription (recurring product).
Let's get started!
Prerequisites
Before you begin, make sure that you:
- Have access to SCM
- Have a user set up
Contact the Client Experience if you need to set it up.
Basic setup in SCM
Step 1: Choose a plan
Go to Configure > Manage Products. Click the three-dot menu on the blue button, then select Add Recurring Product (Plan).

Step 2: Choose a Product and Category
In the General tab, fill in the required fields marked with an asterisk (*):
- Product Name
- Category
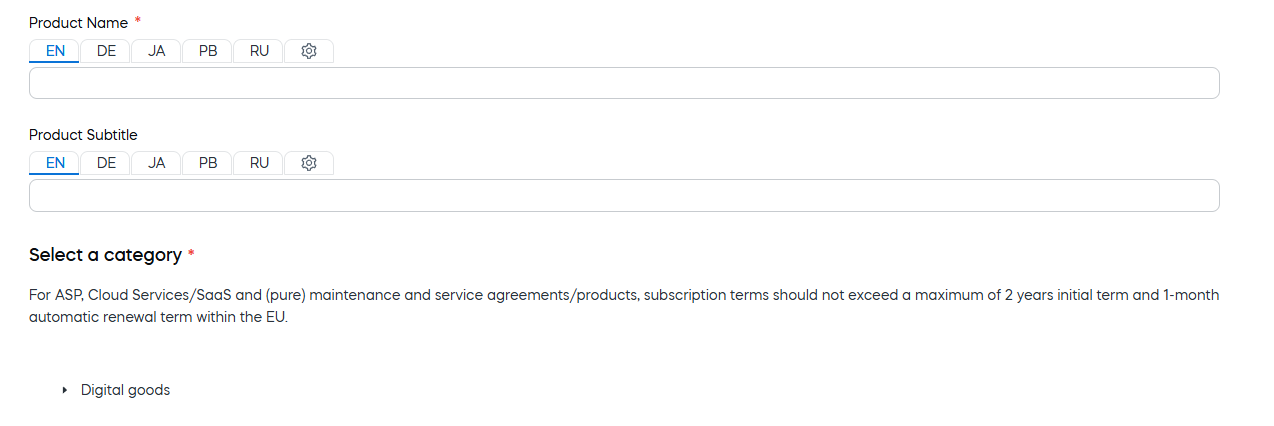
You can skip optional fields such as Attributes and add those later.
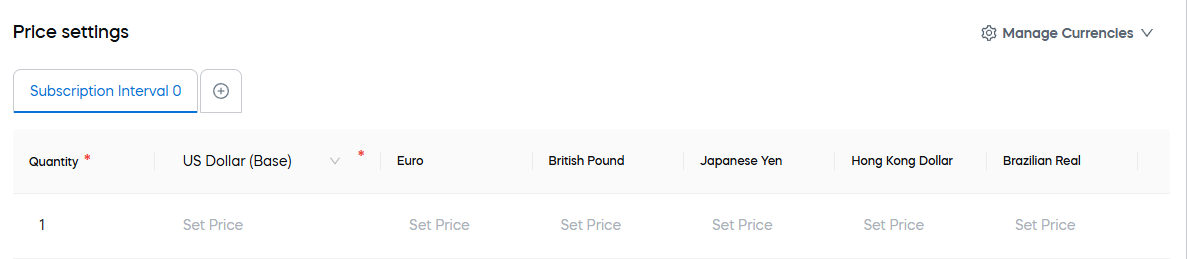
Step 3: Set pricing intervals and currency
Use the arrow to get to the Pricing tab. Set the Initial Subscription Interval – decide the time between signup and the first billing.
Then define the Length of Recurring Subscription Interval – how often your customers will be charged. Monthly or daily intervals are possible.

In the Price setting tab, set the price in your base currency (required), then select Save and Close.
Your product has been created and is now available in the Products table.
Optionally, add a set price for other currencies. A set price will always be displayed as such and won't reflect the currency exchange rate. Check the list of supported currencies. Your customers will see their local currency based on the Geo IP location.
Step 4: Delivery
This step is not required for the initial testing.
To deliver a product to your customers, you need a license key. This can be generated in SCM.
Go to Configure > Tools > Key Generator, then click Add Key Generator.
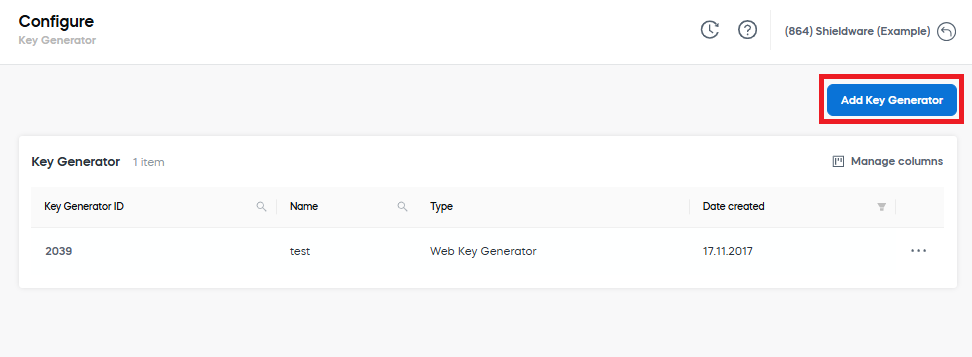
For more details, check the License key generator page.
Step 5: Checkout setup
To complete the checkout setup, we need your logos and branding to set up a default checkout. Once you've submitted, we'll set up a fully functioning checkout for you.
Step 6: Create a checkout link
Cleverbridge offers extensive capabilities in creating shareable, protected links. We'll create a basic checkout link that you can share with your customers.
Go to Configure > Link Generator, then select the Add Checkout Link button.
Click the Add Product button and select your product.

Copy your link to add to your website or share it in an email with your clients.
![]()
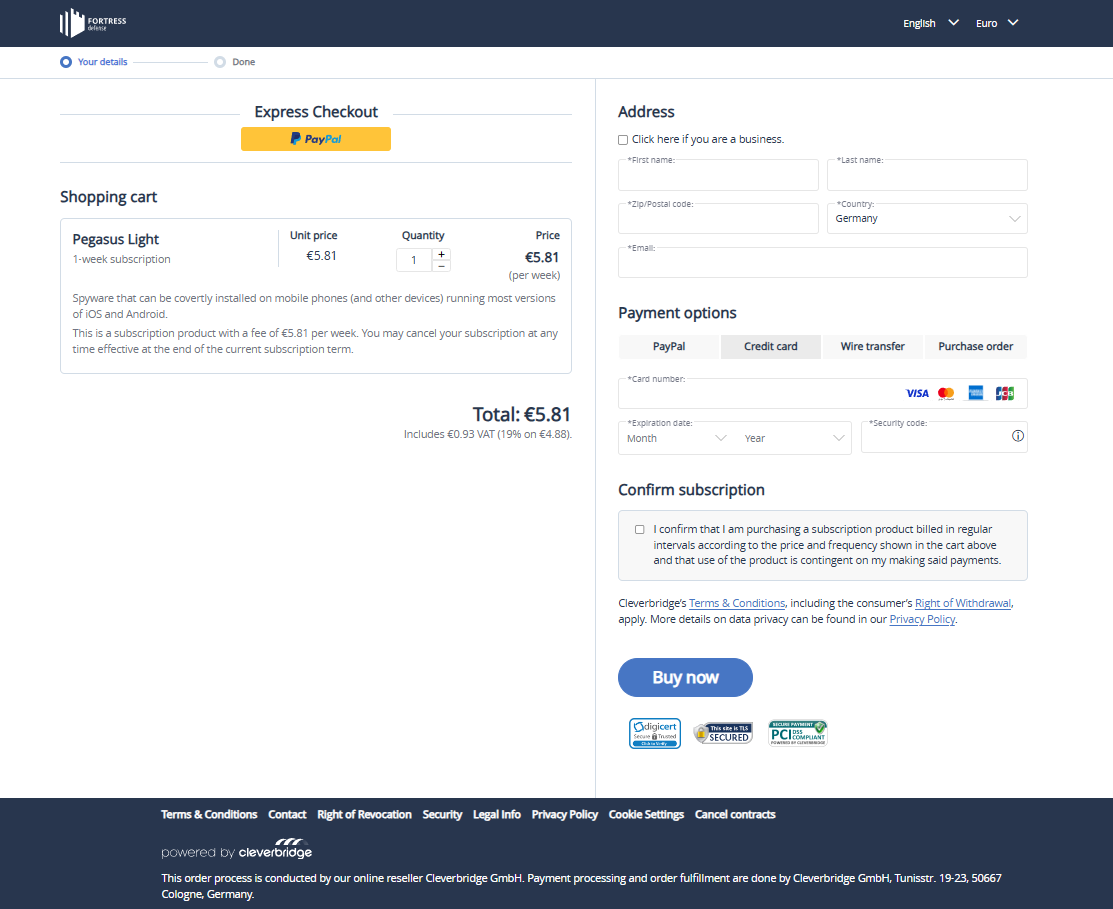
Basic checkout example
The layout of this checkout can be customized completely to ensure a smooth integration with your website and your company's branding.