Web file management
Introduction
Managing digital assets such as images, scripts, and stylesheets is essential for ensuring a consistent, up-to-date customer experience across product pages, checkout flows, and marketing materials.
The Web Files Management interface in SCM empowers teams to centrally manage these assets with full visibility and control—directly within the platform.
With built-in previewing, version control, and linking to related customer-facing items, the tool enables:
- Uploading and managing localized product banners for regional checkouts.
- Replacing outdated brand assets or promotional graphics.
- Keeping custom JavaScript and CSS files in sync with UI changes.
- Verifying file integrity using file comparison before deploying updates.
- Tracking where files are used across the Customer Area to avoid unintended changes.
Access Web Files
To navigate to the Web Files page:
- From the left navigation bar in SCM, click on Configure.
- Select Web Files.
- You will be redirected to the Web Files Table view.
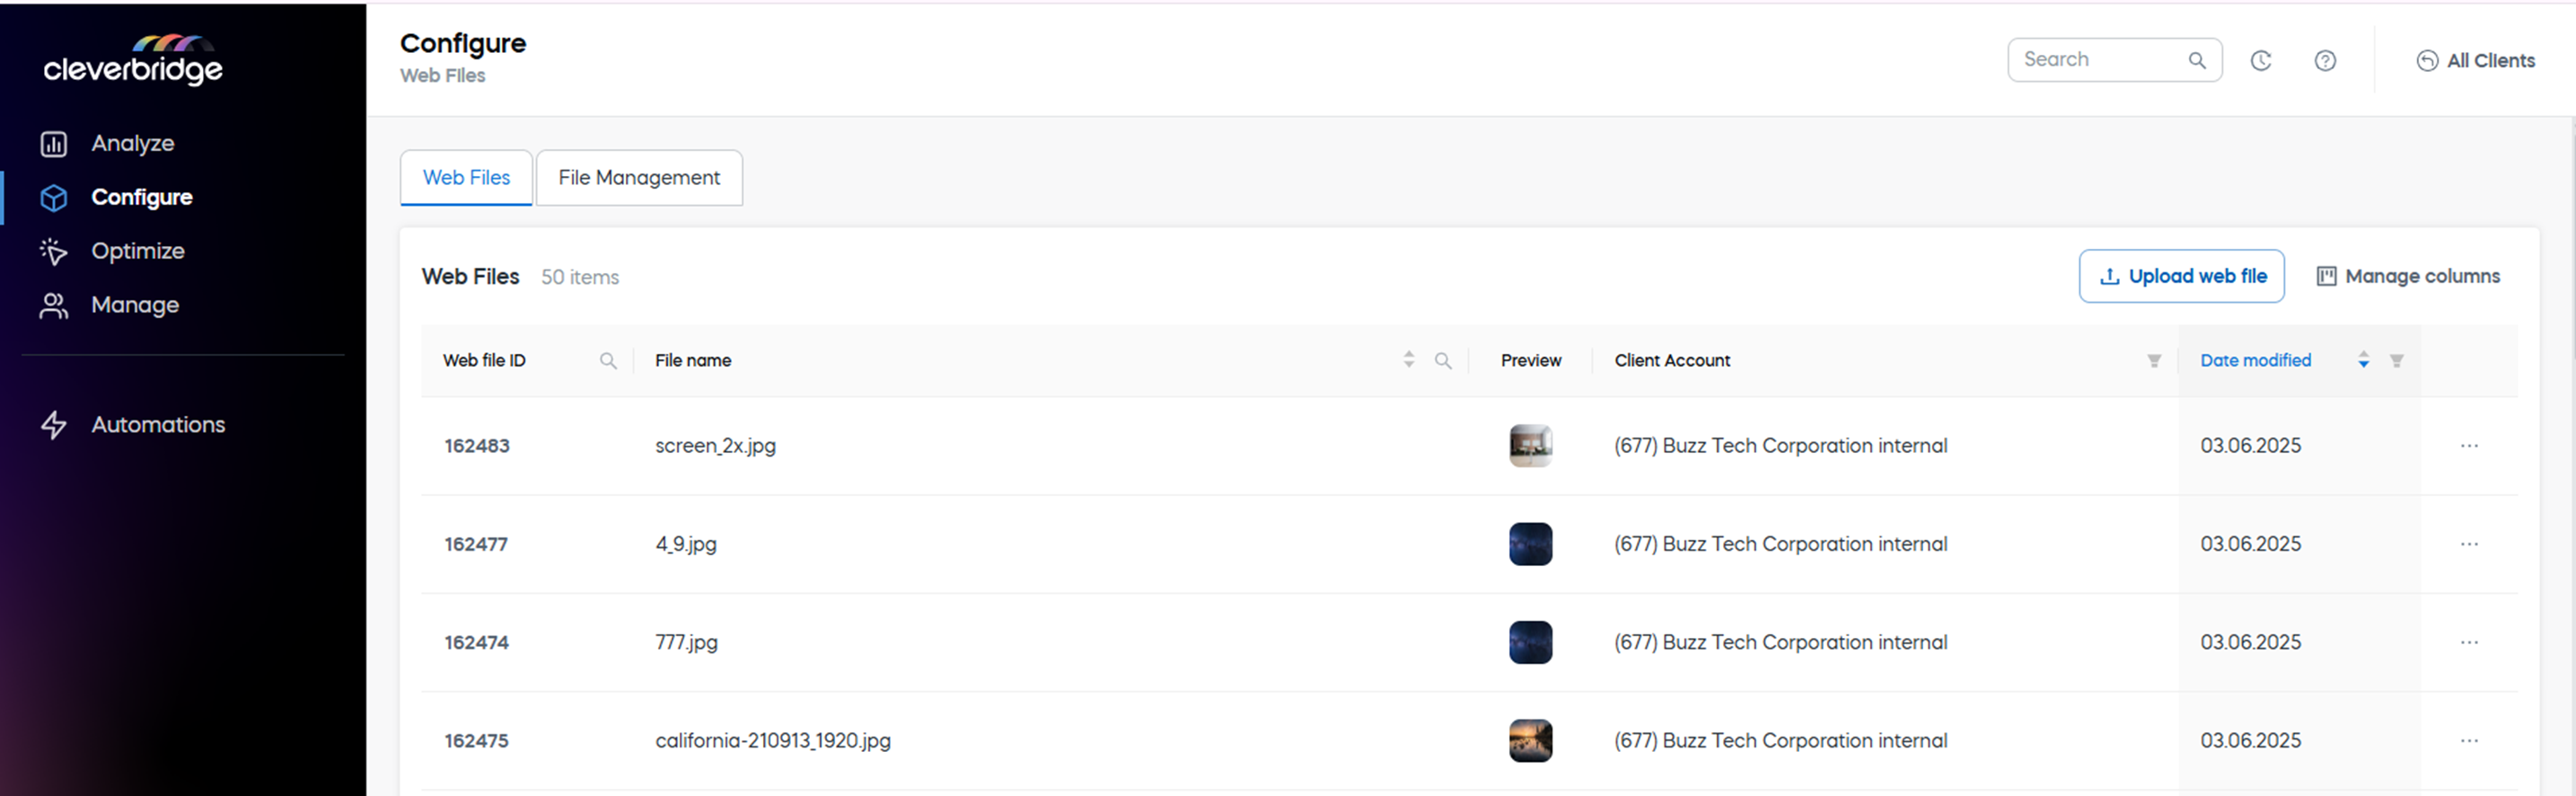
Web Files table
The Web Files page displays a table of all uploaded files. Click Manage to add more columns to the table.
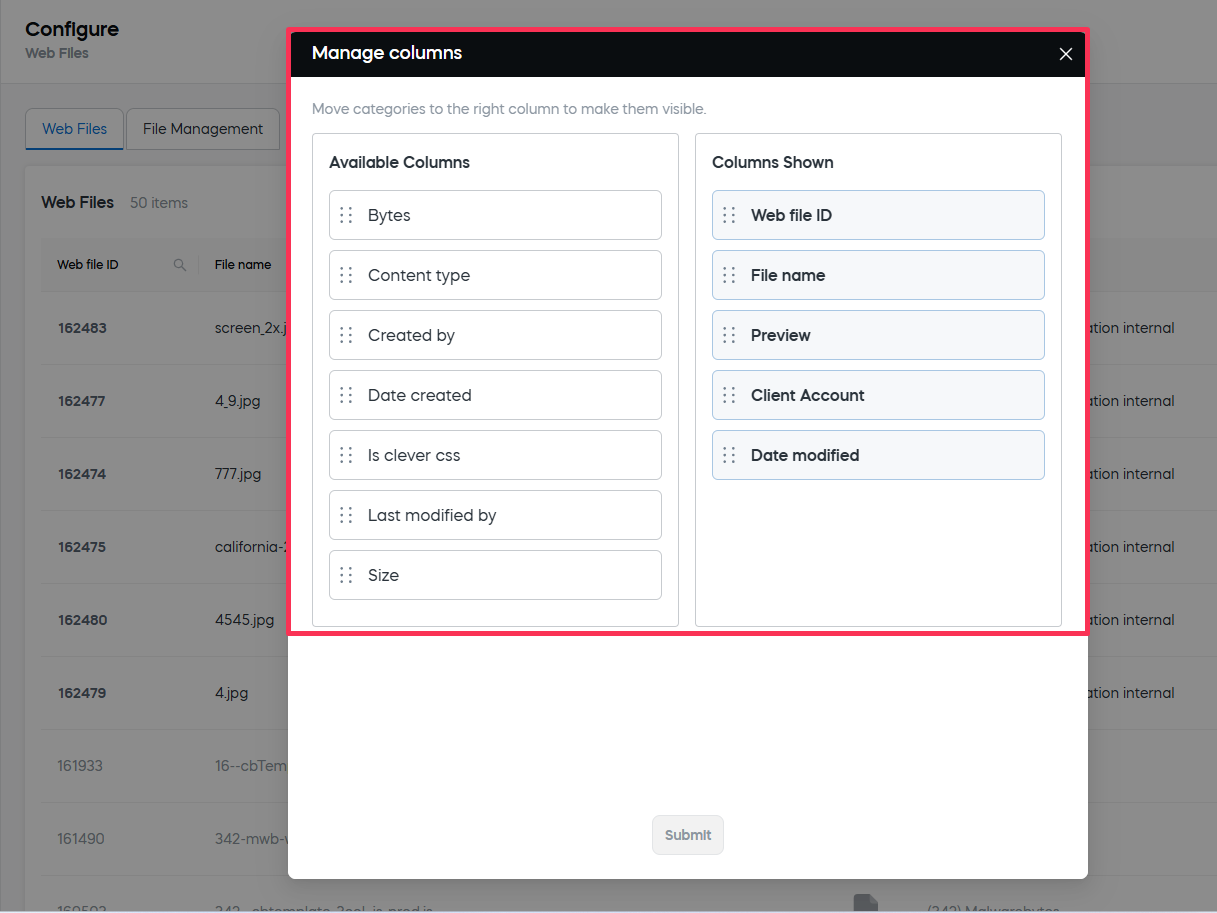
Available Columns
| Column | Description |
|---|---|
| Web file ID | Unique identifier. Searchable. |
| File name | Name of the file. Searchable and sortable. |
| Preview | Thumbnail preview for supported file types. |
| Client account name (ID) | Client identifier. Filterable. |
| Date modified | Last modified date. Sortable and filterable. |
| Bytes | File size in bytes. Sortable. |
| Content type | MIME type (e.g., image/jpeg, text/css). Filterable via API lookup. |
| Created by | Creator's username. Filterable and sortable. |
| Date created | Original upload date. Filterable and sortable. |
| Is clever CSS | Boolean flag for system stylesheets (not editable). |
| Last modified by | Username of last editor. Filterable and sortable. |
| Size | Dimensions (for images). Display only. |
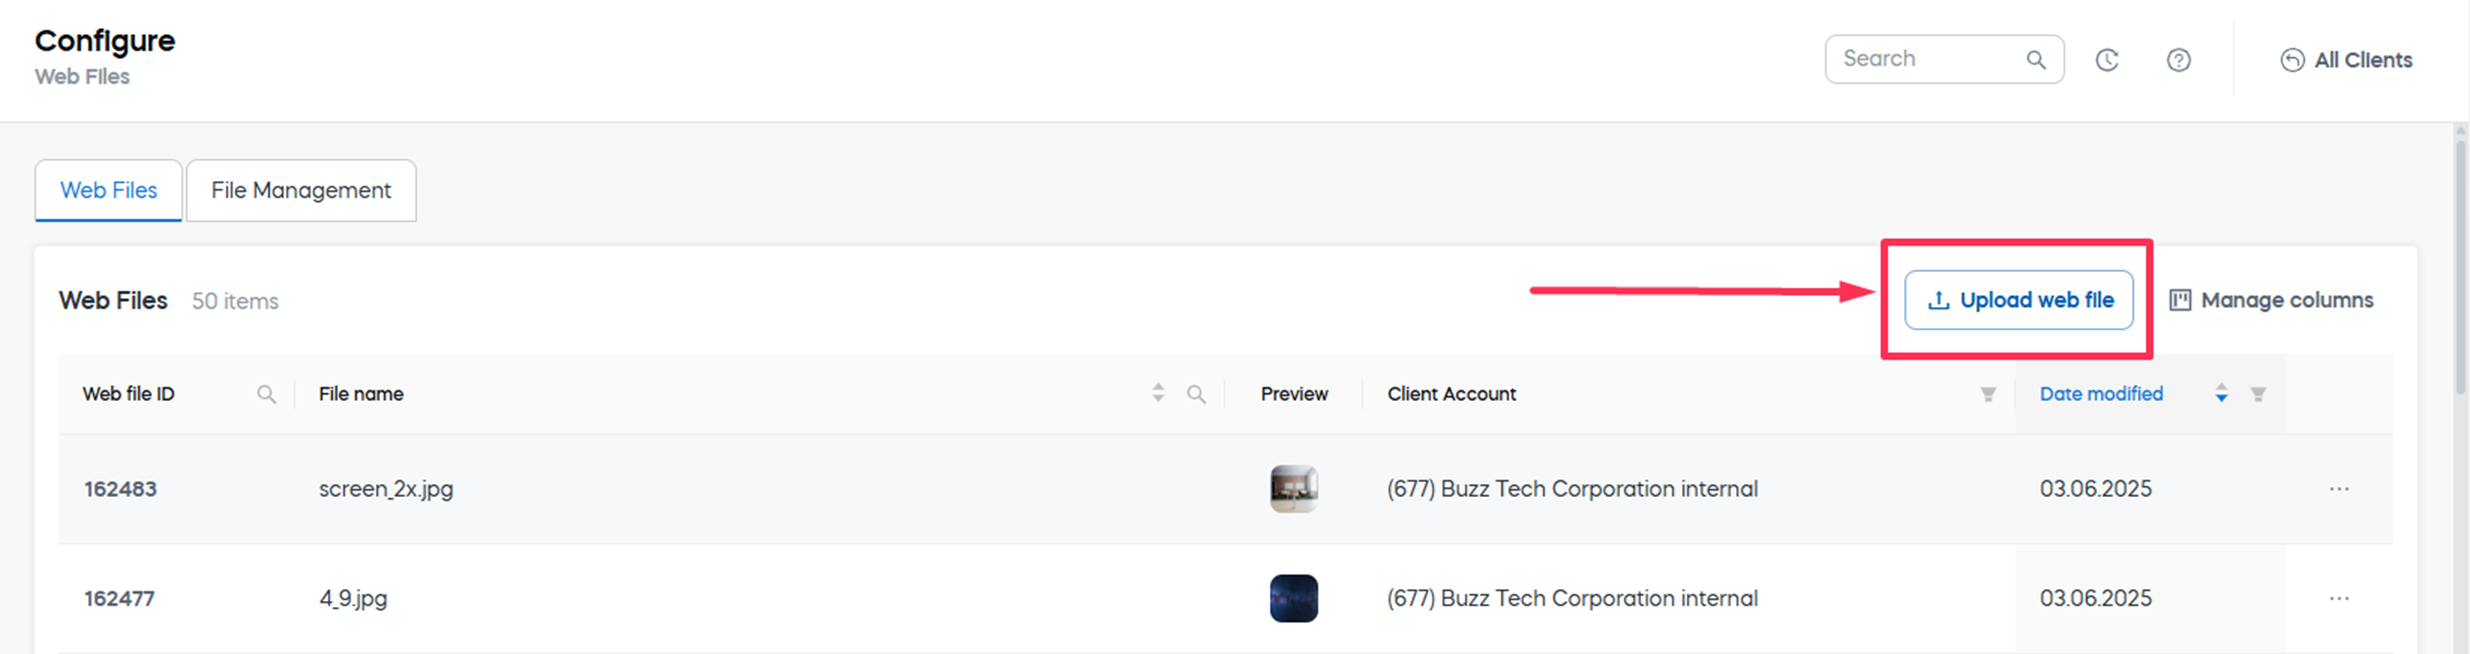
Upload a Web File
To add a new file:
- Click Upload web file in the top-right corner.
- Browse for the file on your desktop.
- Confirm upload.
Once uploaded, the file will appear in the table and can be used in product or checkout configurations.
File Actions
Each file has a context three-dot menu on the right. Click it to reveal available actions. 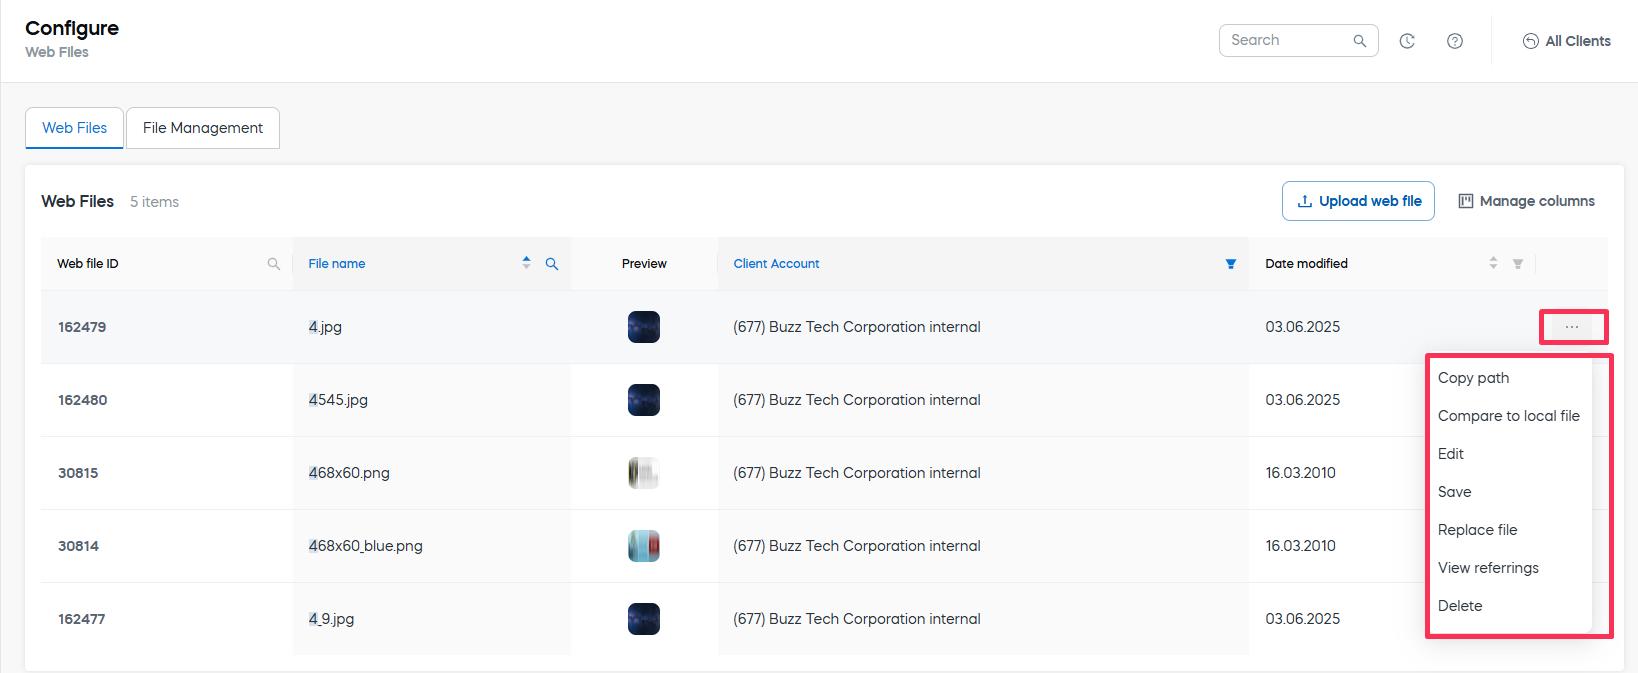
Available Actions
-
Copy path: Copies the file path to clipboard for reuse.
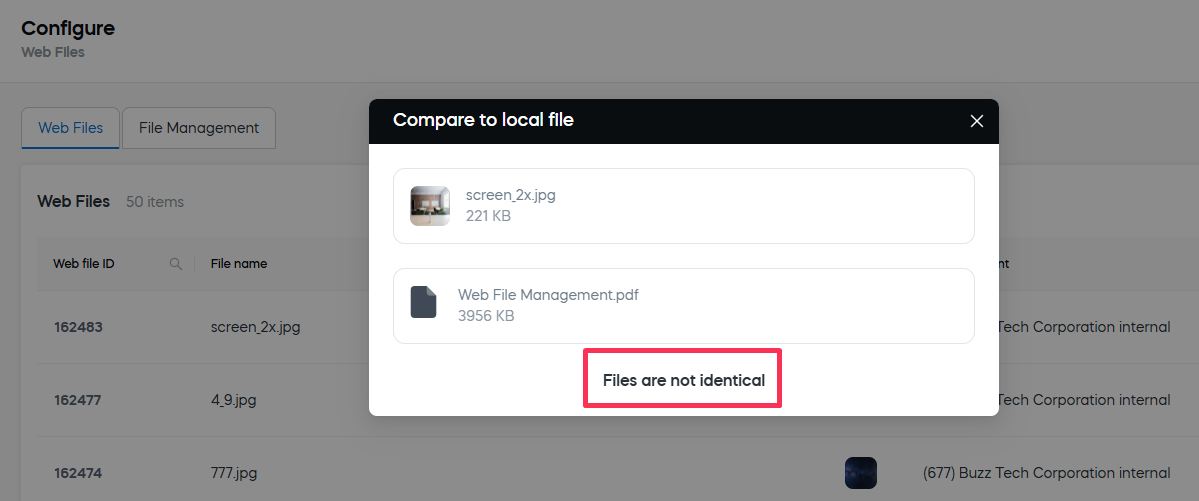
-
Compare to local file: Upload a file from your computer to compare it to the selected web file. The system will show if the files are identical.
-
Edit: Opens the editor to update file details.
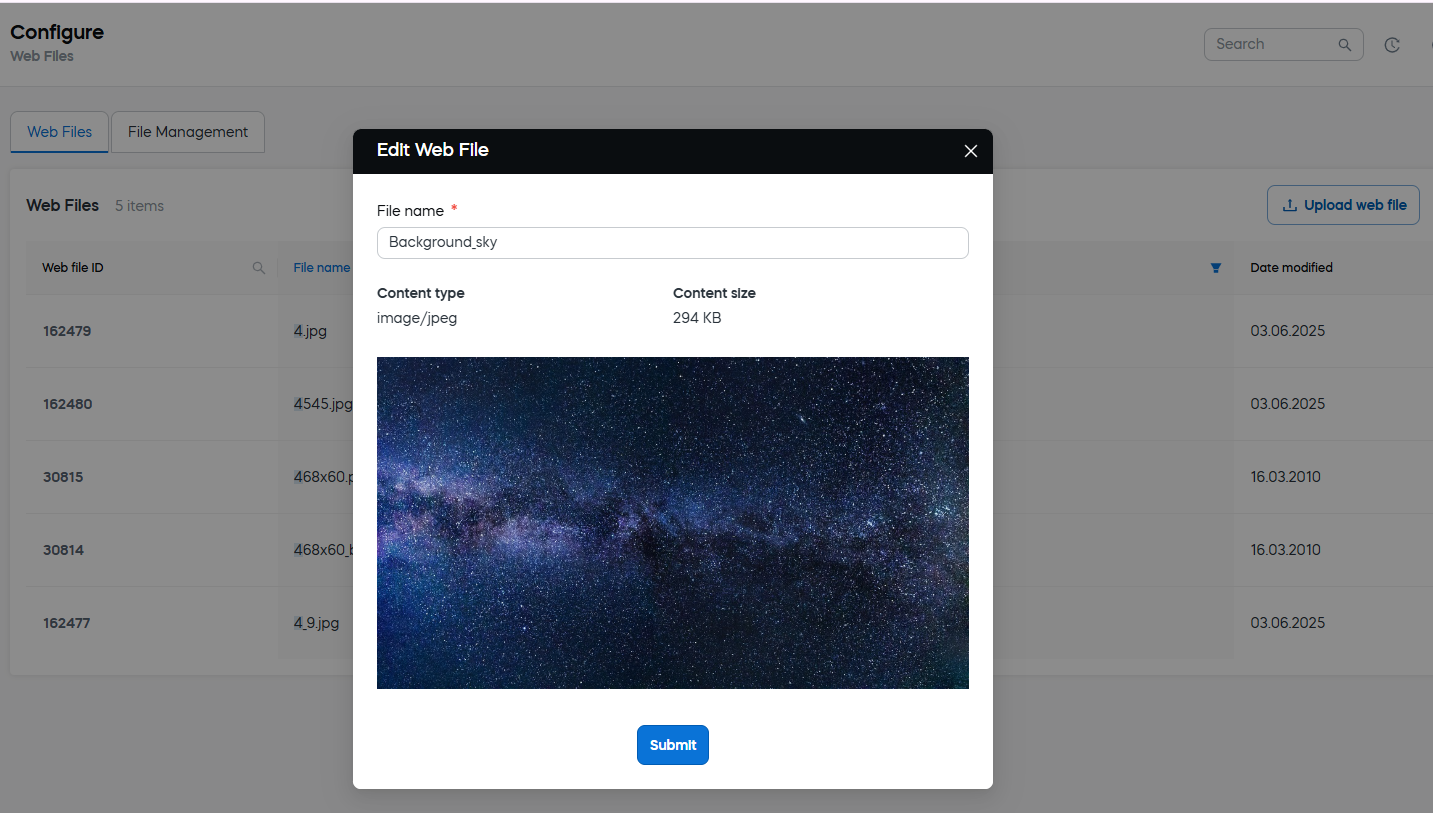 tip
tipThe Edit option can be used to update file names. We recommend using clear, versioned naming conventions to improve traceability and simplify the asset management.
-
Save: Save the file locally.
-
Replace file: Upload a new version while retaining the same file ID. The functionality is useful for updating live assets but has to be used with due diligence.
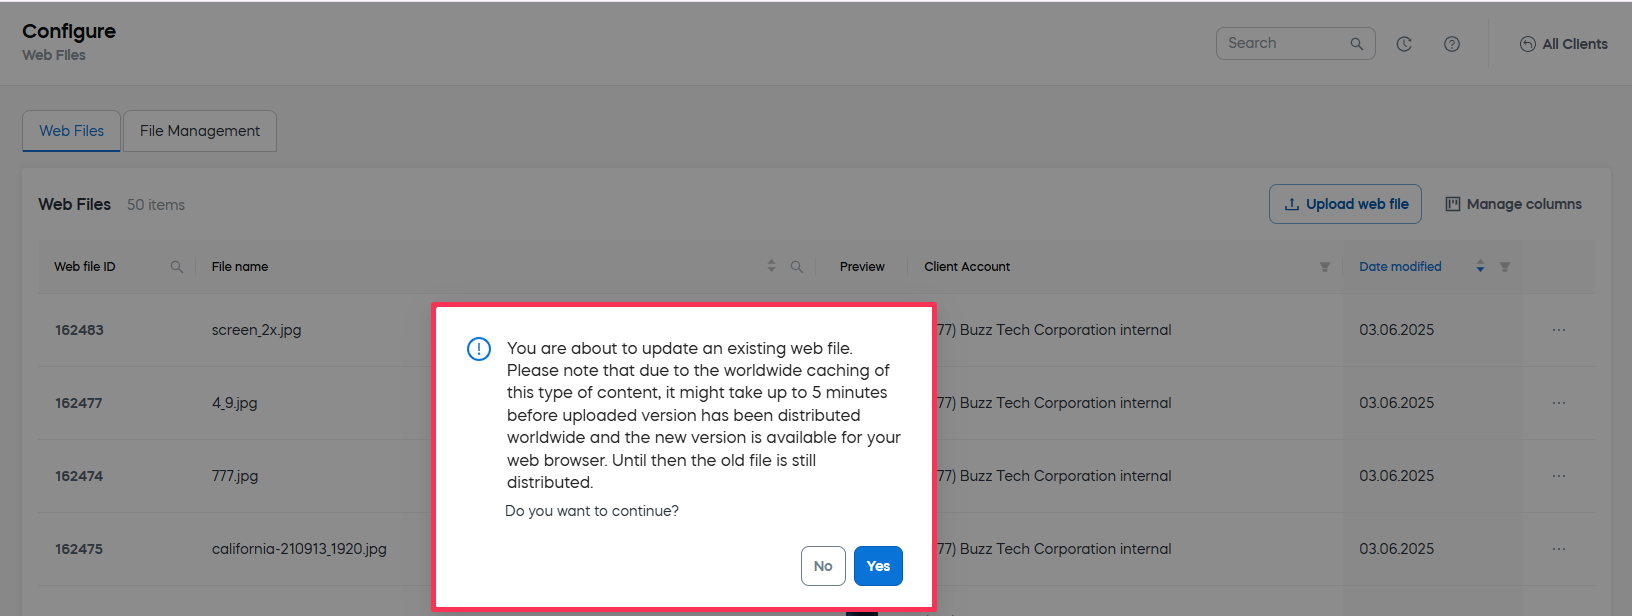 tip
tipTo preserve file references and avoid breaking links in live environments, use Replace file when updating assets, rather than deleting and re-uploading them.
-
View referrings: Shows a modal with a list of entities using this file (clickable for navigation).
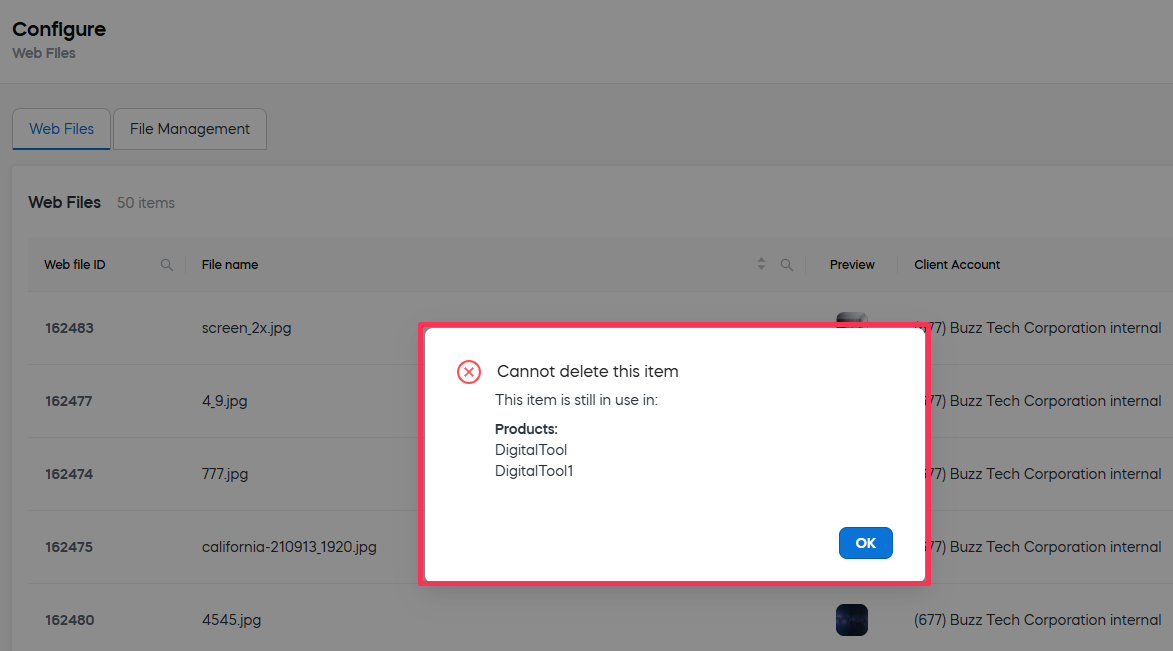
-
Delete: Permanently removes the file. A confirmation dialog will be shown to avoid accidental deletion. If the file is referred to in any of the entities, it cannot be deleted.
Filter and search
As in most of our grids, you can use the table filters and search options in the table header to quickly find relevant files.
-
Search by:
- Web File ID
- File Name
-
Filter by:
- Client account
- Created by
- Content type
- Clever CSS flag
-
Sort:
- Date modified
- Bytes
- File name