Notifications
Use Notifications to automatically send purchase-related data from Cleverbridge to your internal systems, ensuring continuous and accurate data synchronization. Notifications deliver the purchase information we collect, keeping your system aligned with ours in real time.
You can customize Notifications to fit your needs by:
- Selecting specific events that trigger a notification.
- Adding as many delivery recipients as required.
- Setting the delivery frequency—from real-time for each transaction to monthly batches. You can also send notifications manually whenever needed.
Notifications dashboard
The Notifications dashboard is available in SCM under:
Configure > Tools > Notifications.
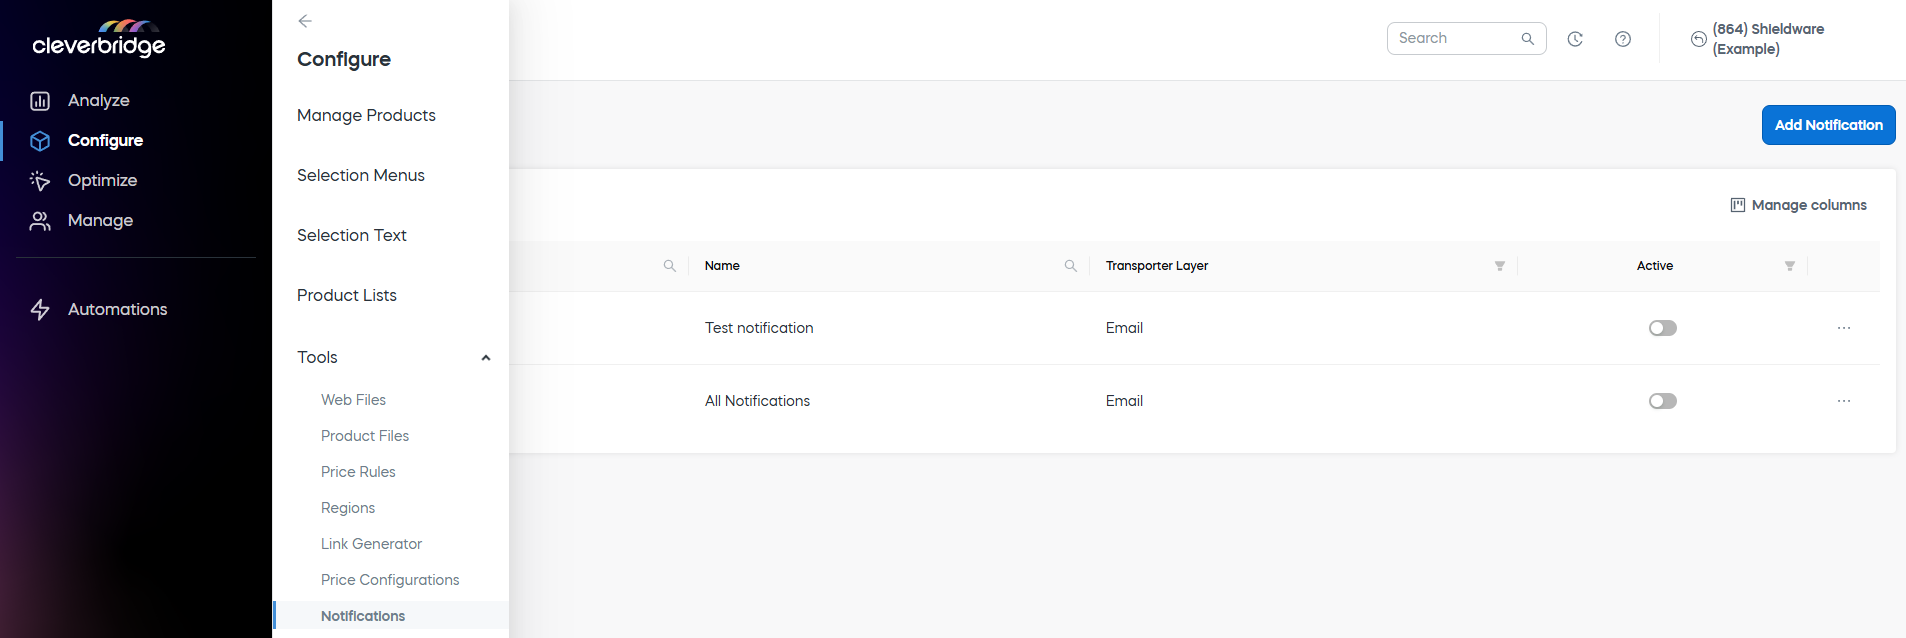
A table shows all notifications added to your account. The following fields can be displayed for each notification:
| Field | Description |
|---|---|
| Notification ID | A unique identifier of the notification. |
| Name | A descriptive name of the notification. |
| Transporter Layer | Delivery method of the notification. |
| Active | Notification activity toggle that you can set on and off. If the toggle is off, the notification will no longer be generated by the platform. |
| Date modified (optional) | The date and time when the notification was last modified. |
| Created by (optional) | The user who created the notification. |
| Date created (optional) | The date and time when the notification was created. |
| Last modified by (optional) | The user who was last to modify the notification. |
Add an optional field
To add an optional field to the notifications dashboard in SCM:
- Go to the Configure > Tools > Notifications.
- Click the Manage columns button in the top right.

- Select the required column from the Available columns and drag and drop to the Columns Shown.
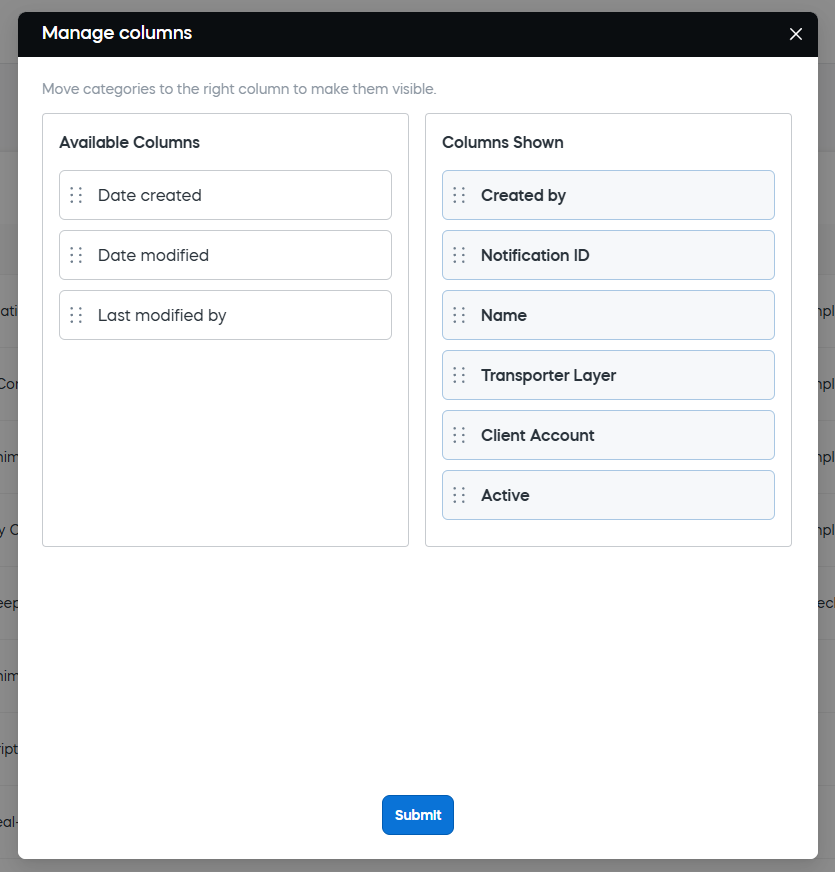
- Click Submit.